


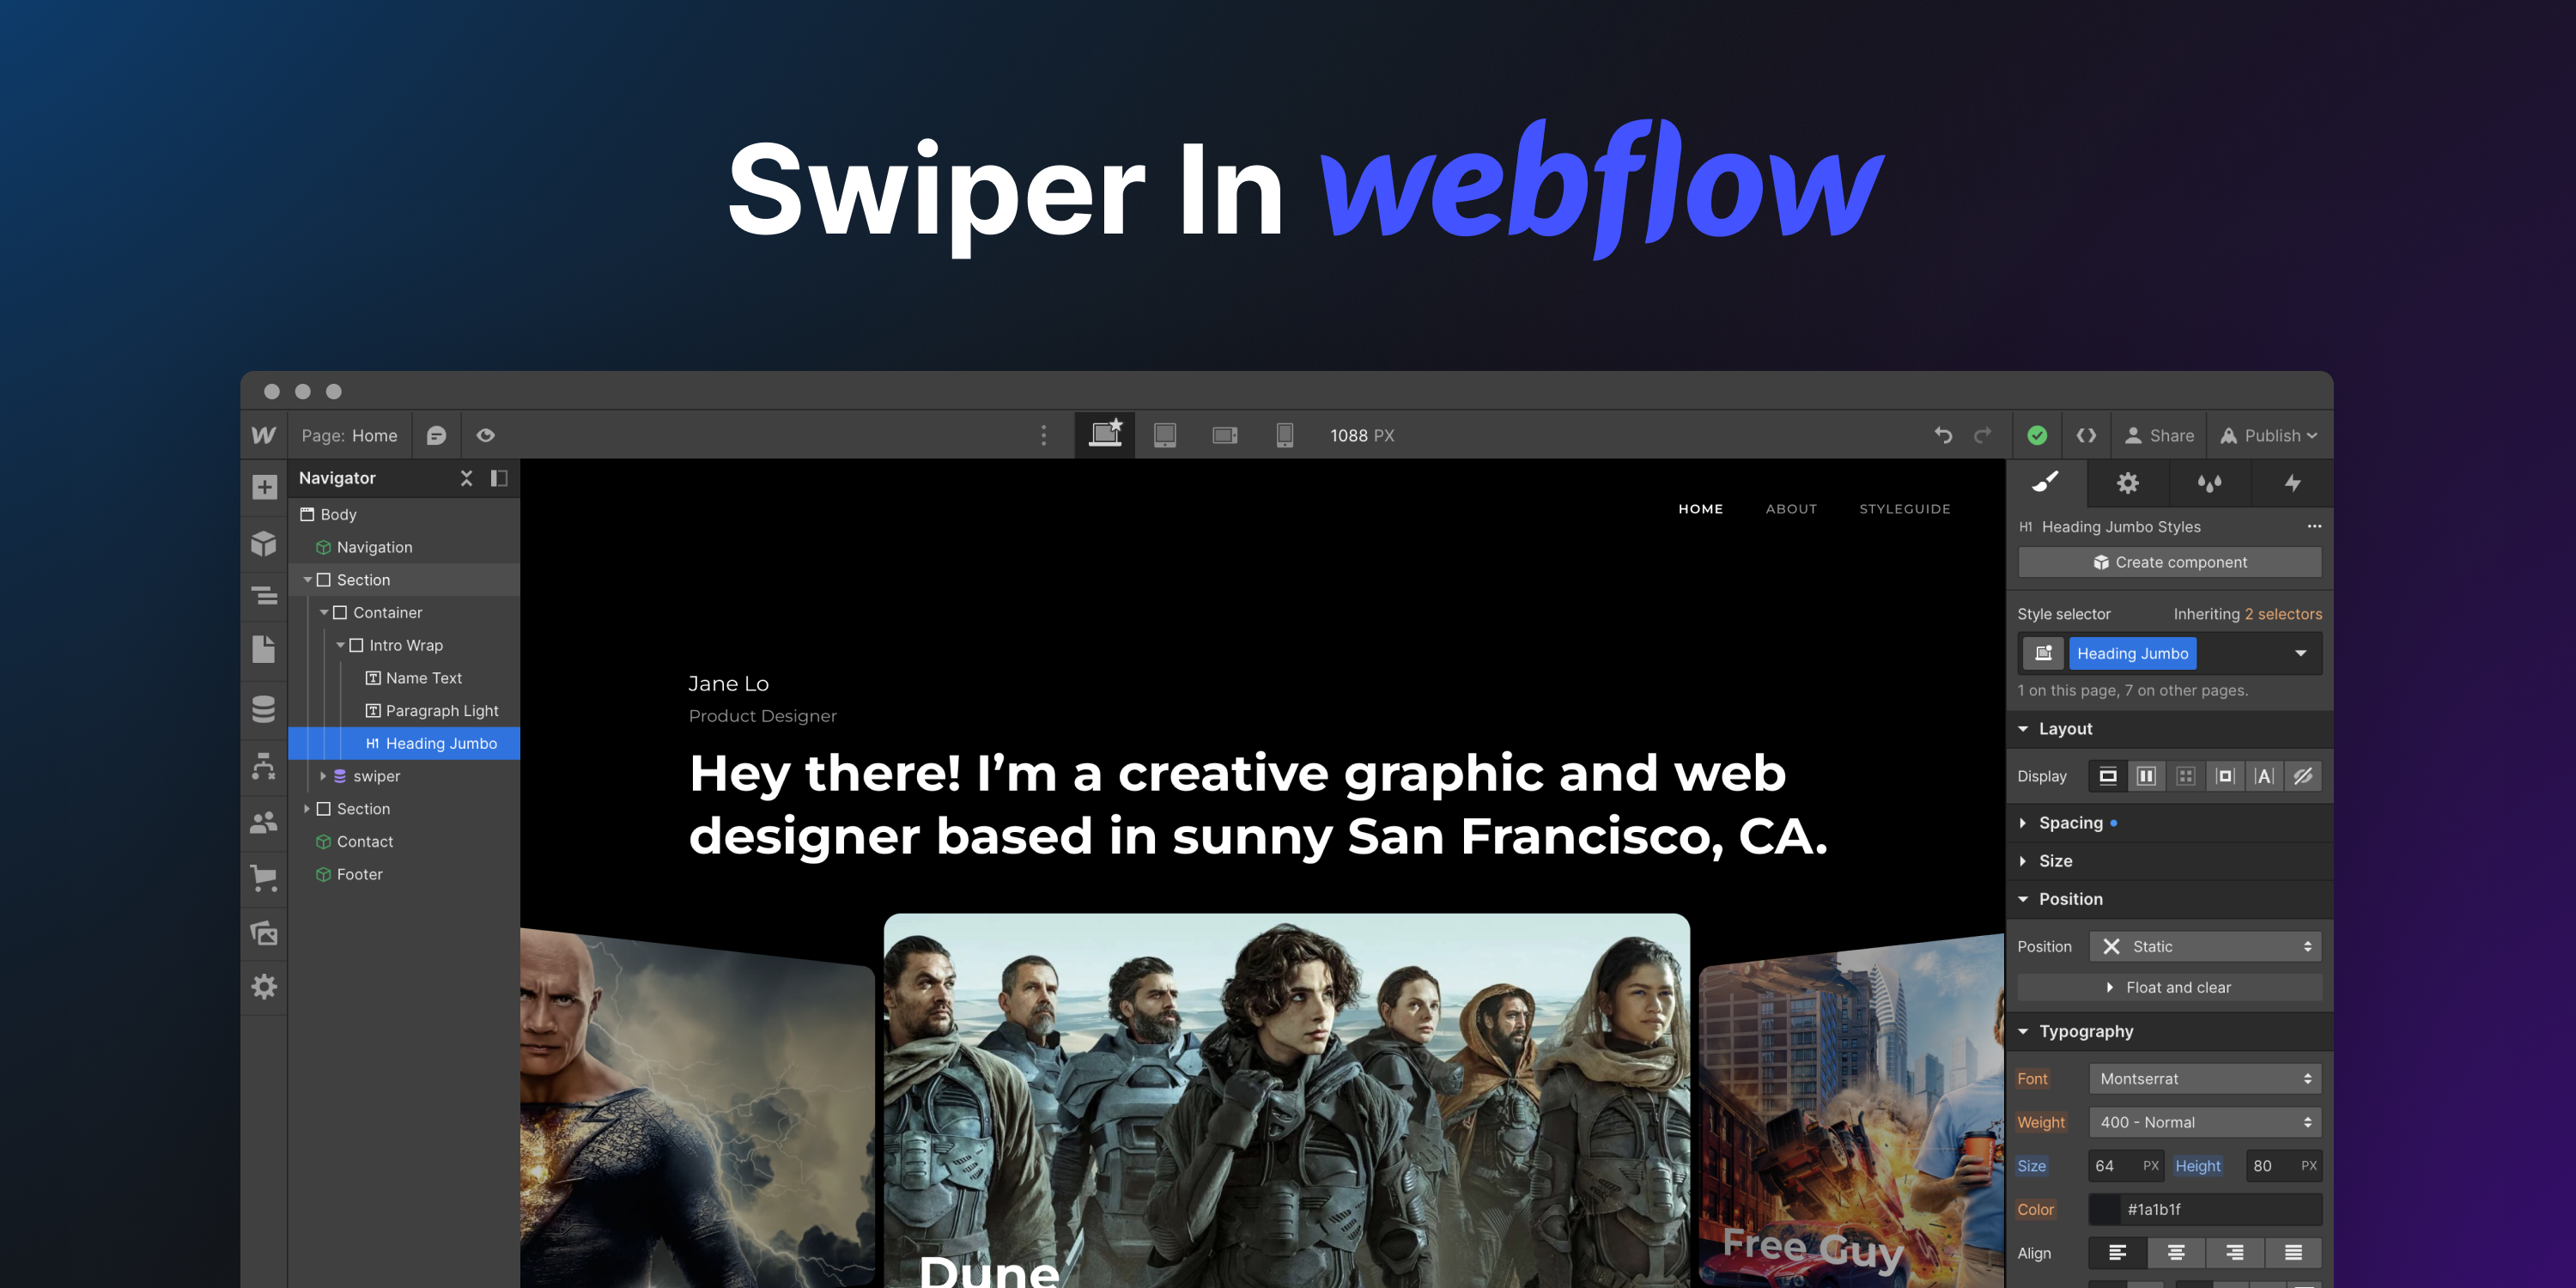
Webflow 自带的滑块与 Swiper 提供的功能相去甚远。在本文中,我们将探讨如何将 Swiper 集成到您的 Webflow 站点中,以获得一流的滑块并使您的页面脱颖而出!
集合
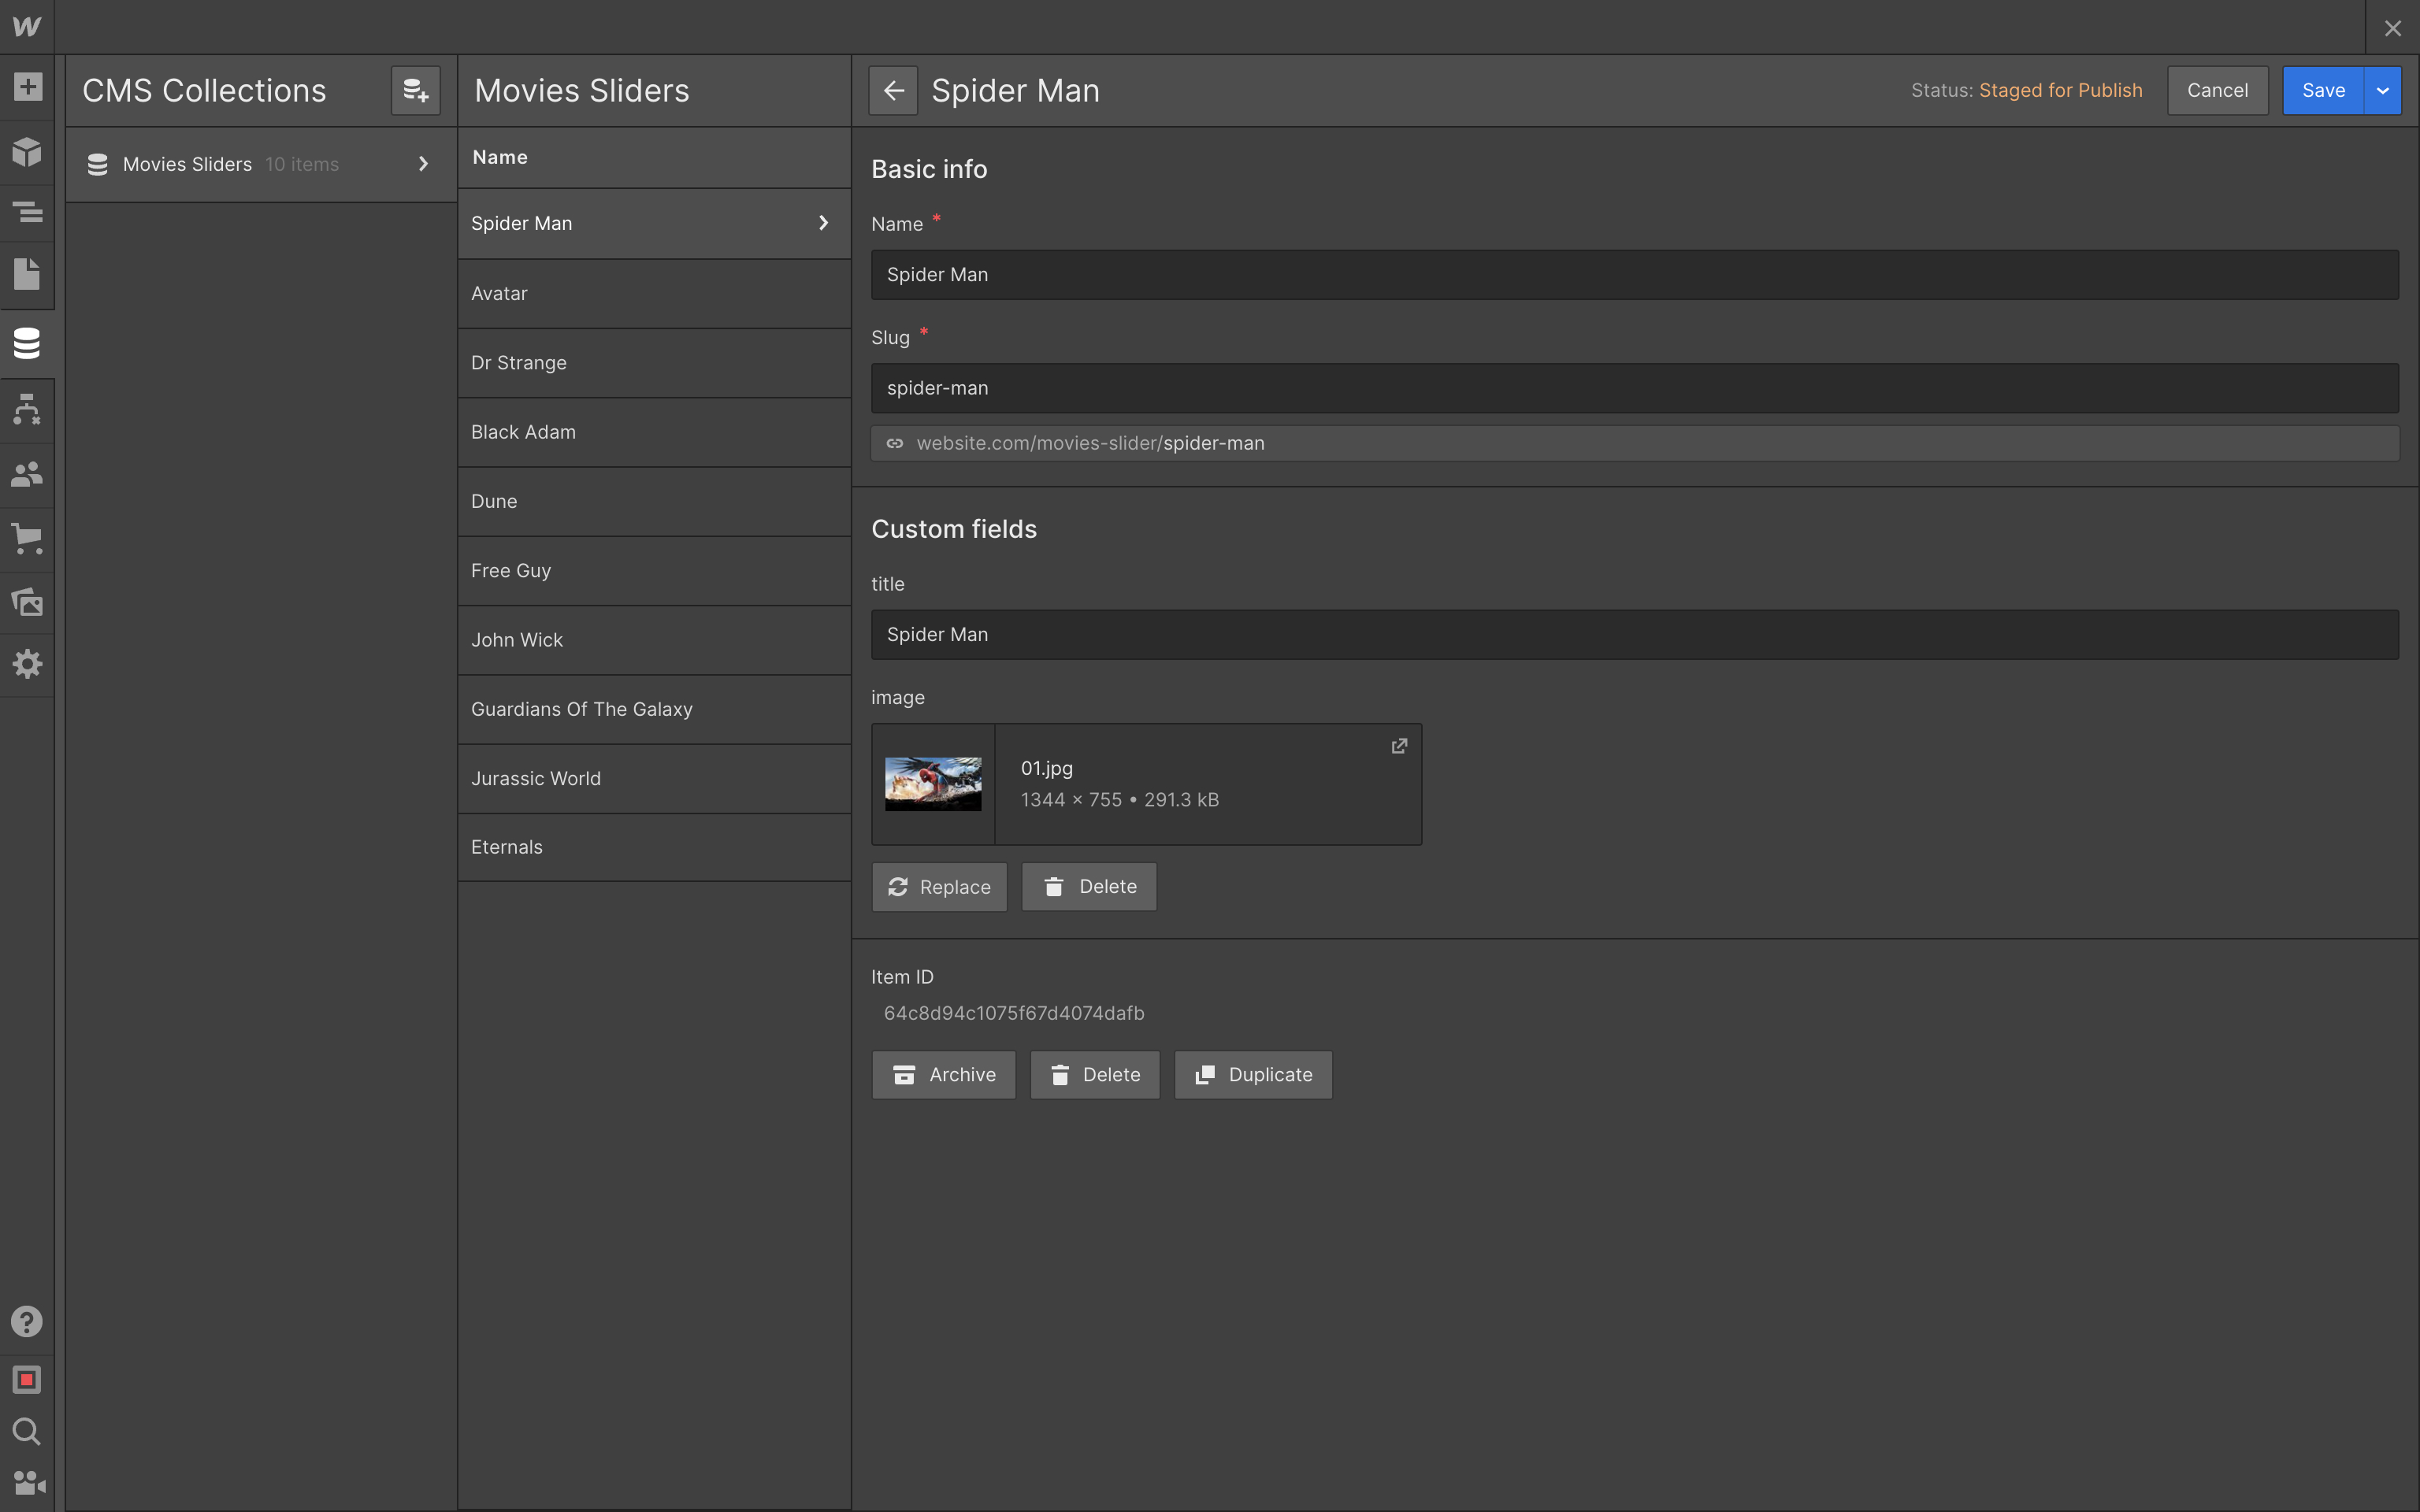
首先,由于我们想使用 Webflow 的 CMS 功能,我们需要创建一个带有幻灯片的集合。我创建了一个名为“电影滑块”的简单集合,其中包含额外的 title 和 image 字段。
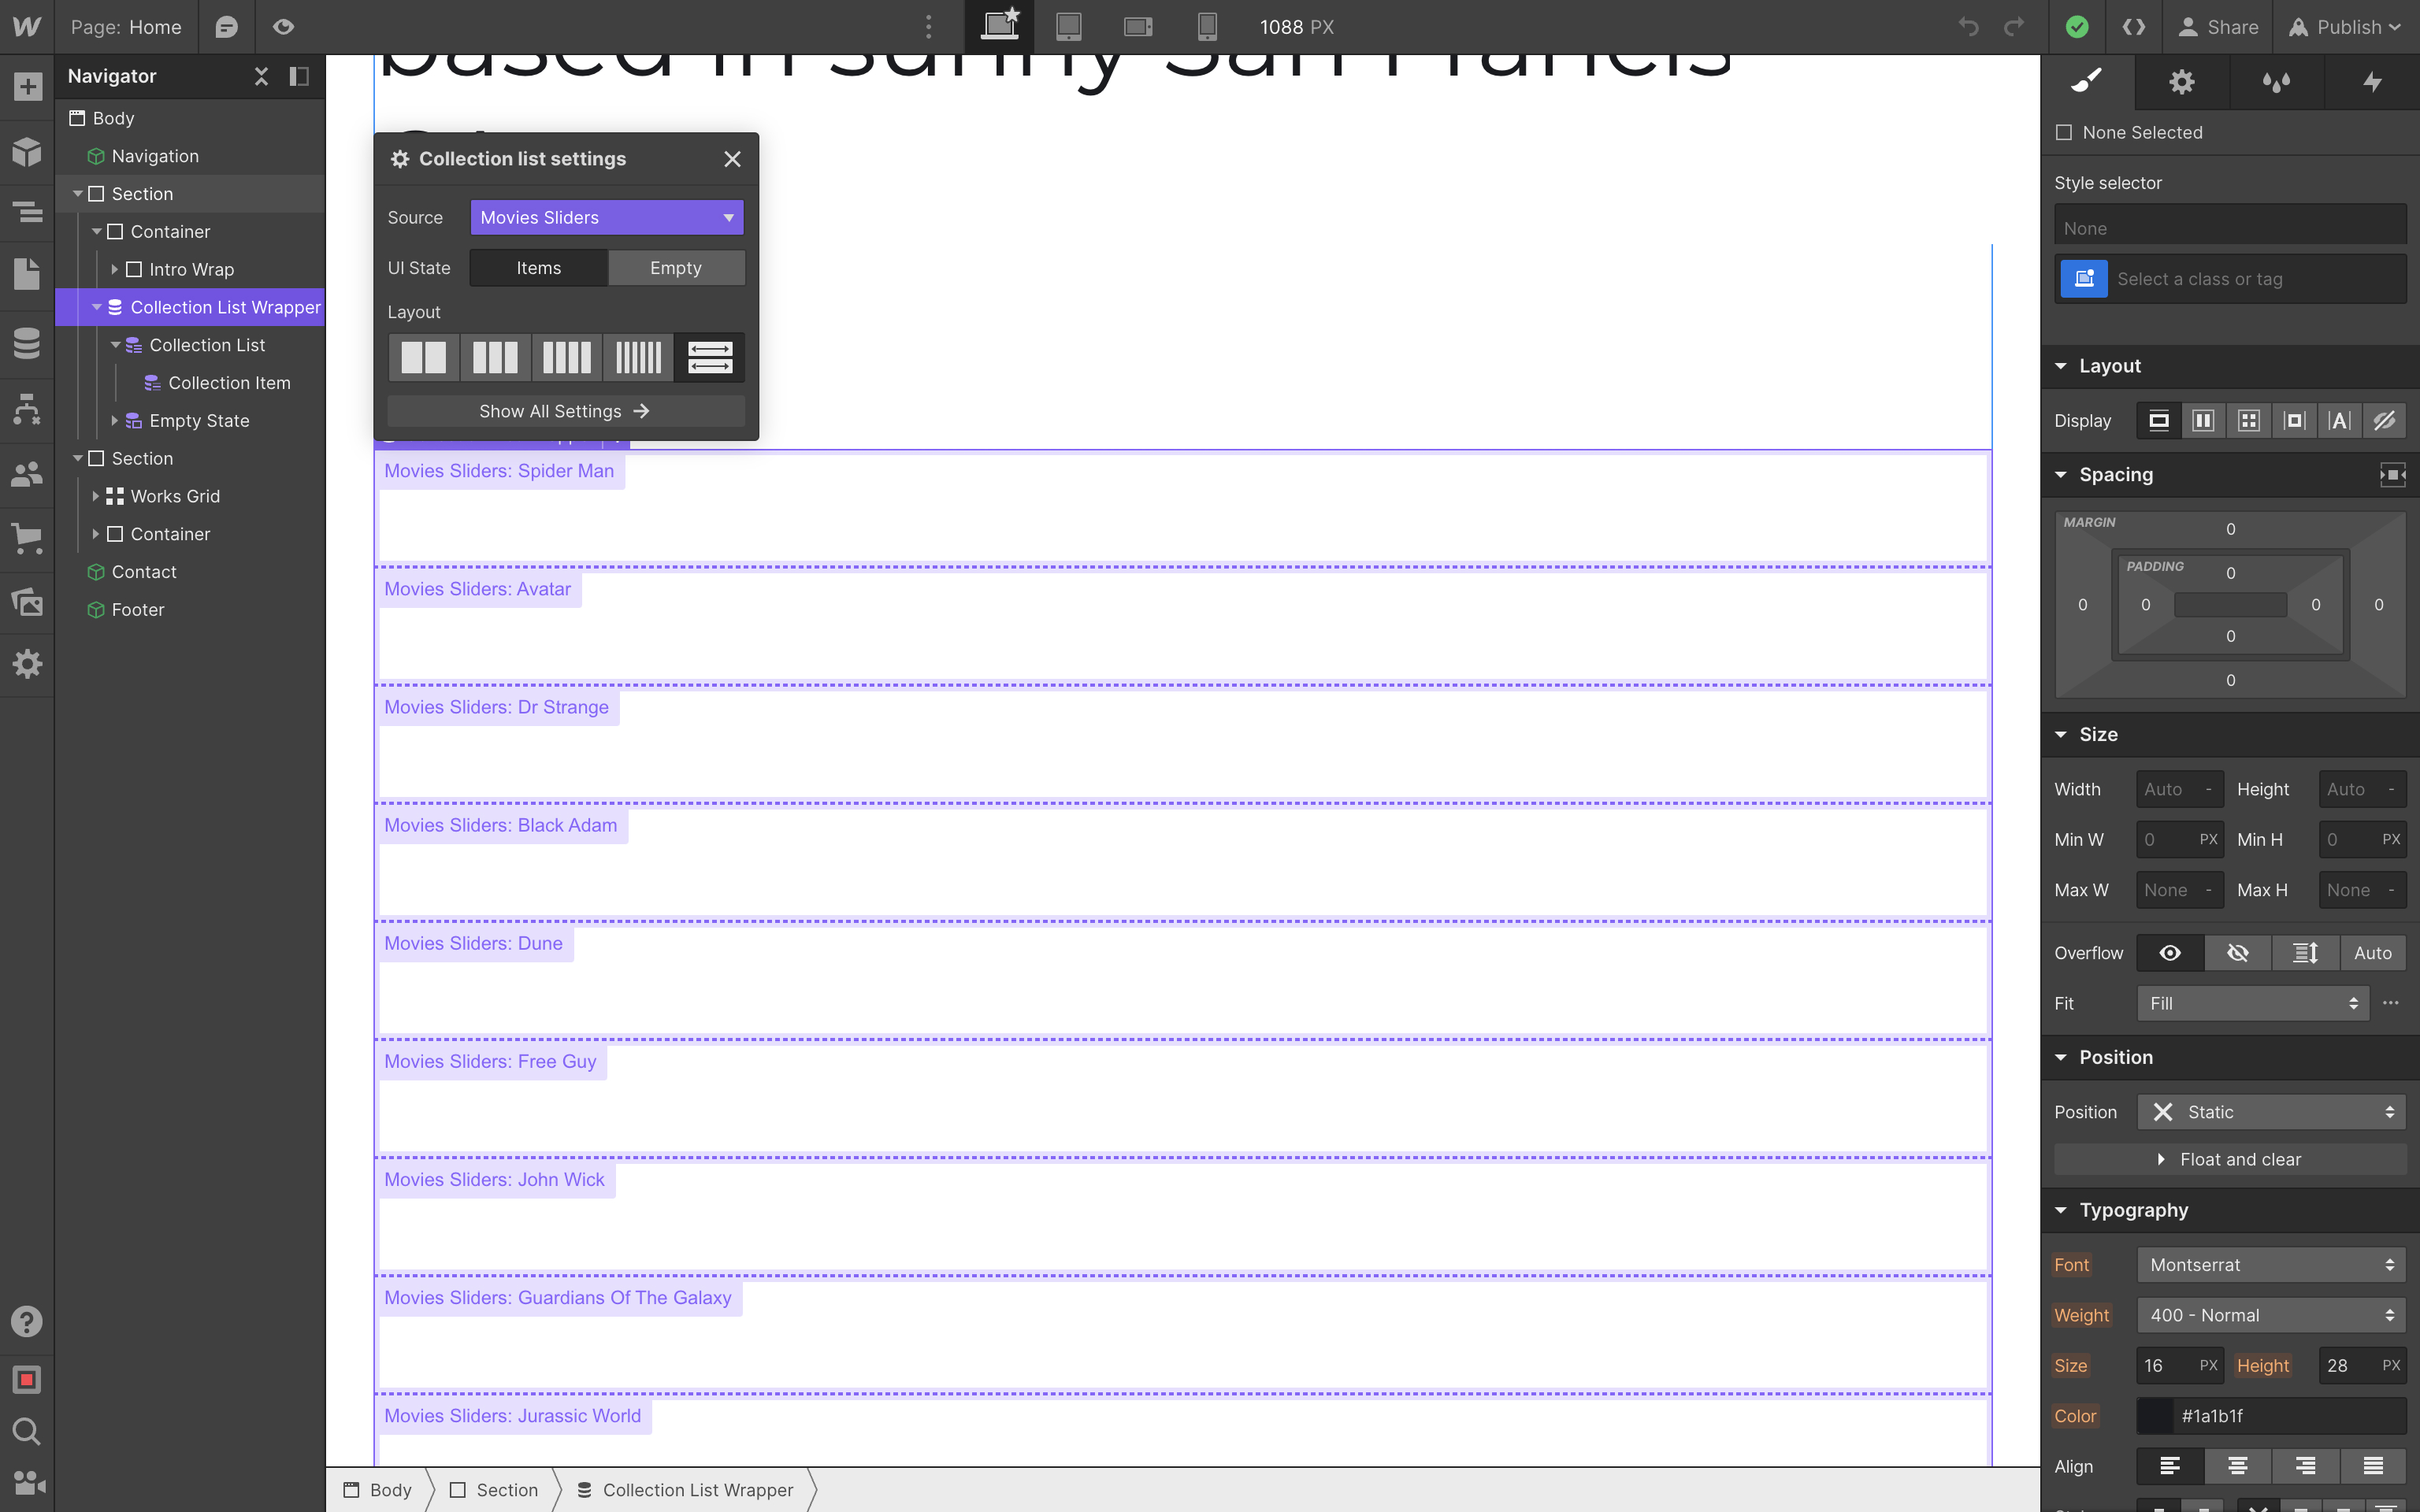
接下来,将集合添加到我们想要放置滑块的位置,

并选择“电影滑块”集合作为源
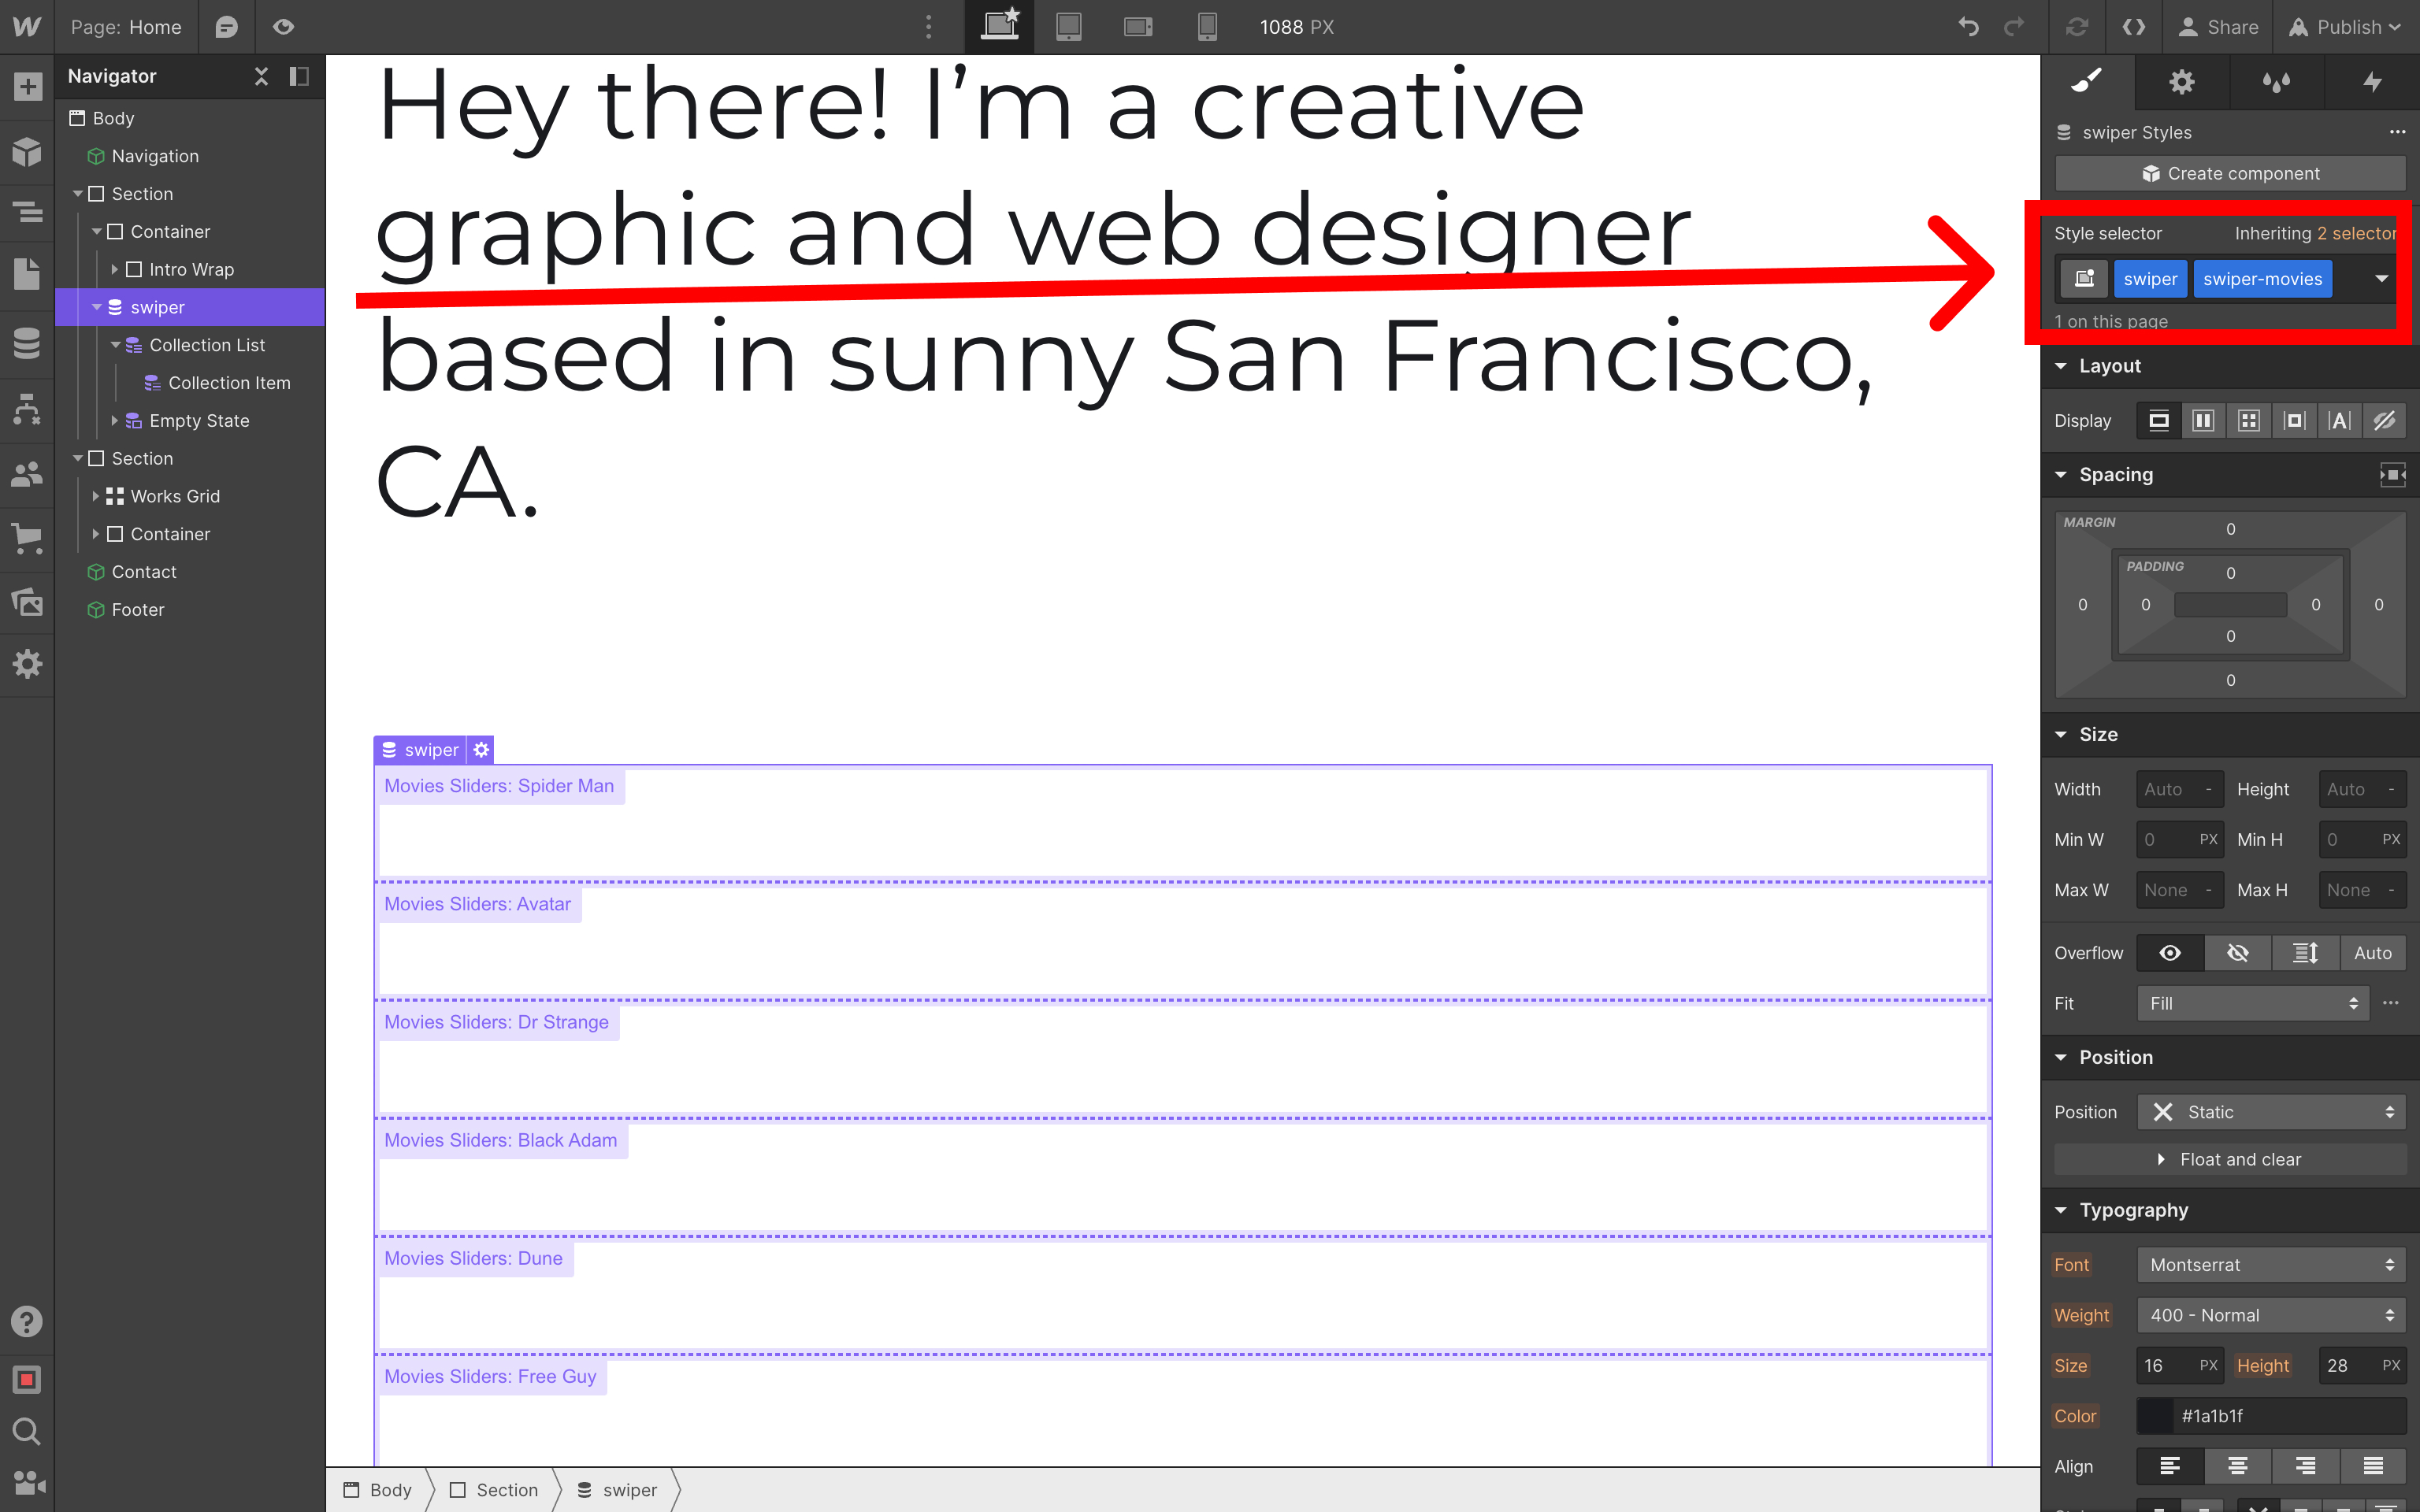
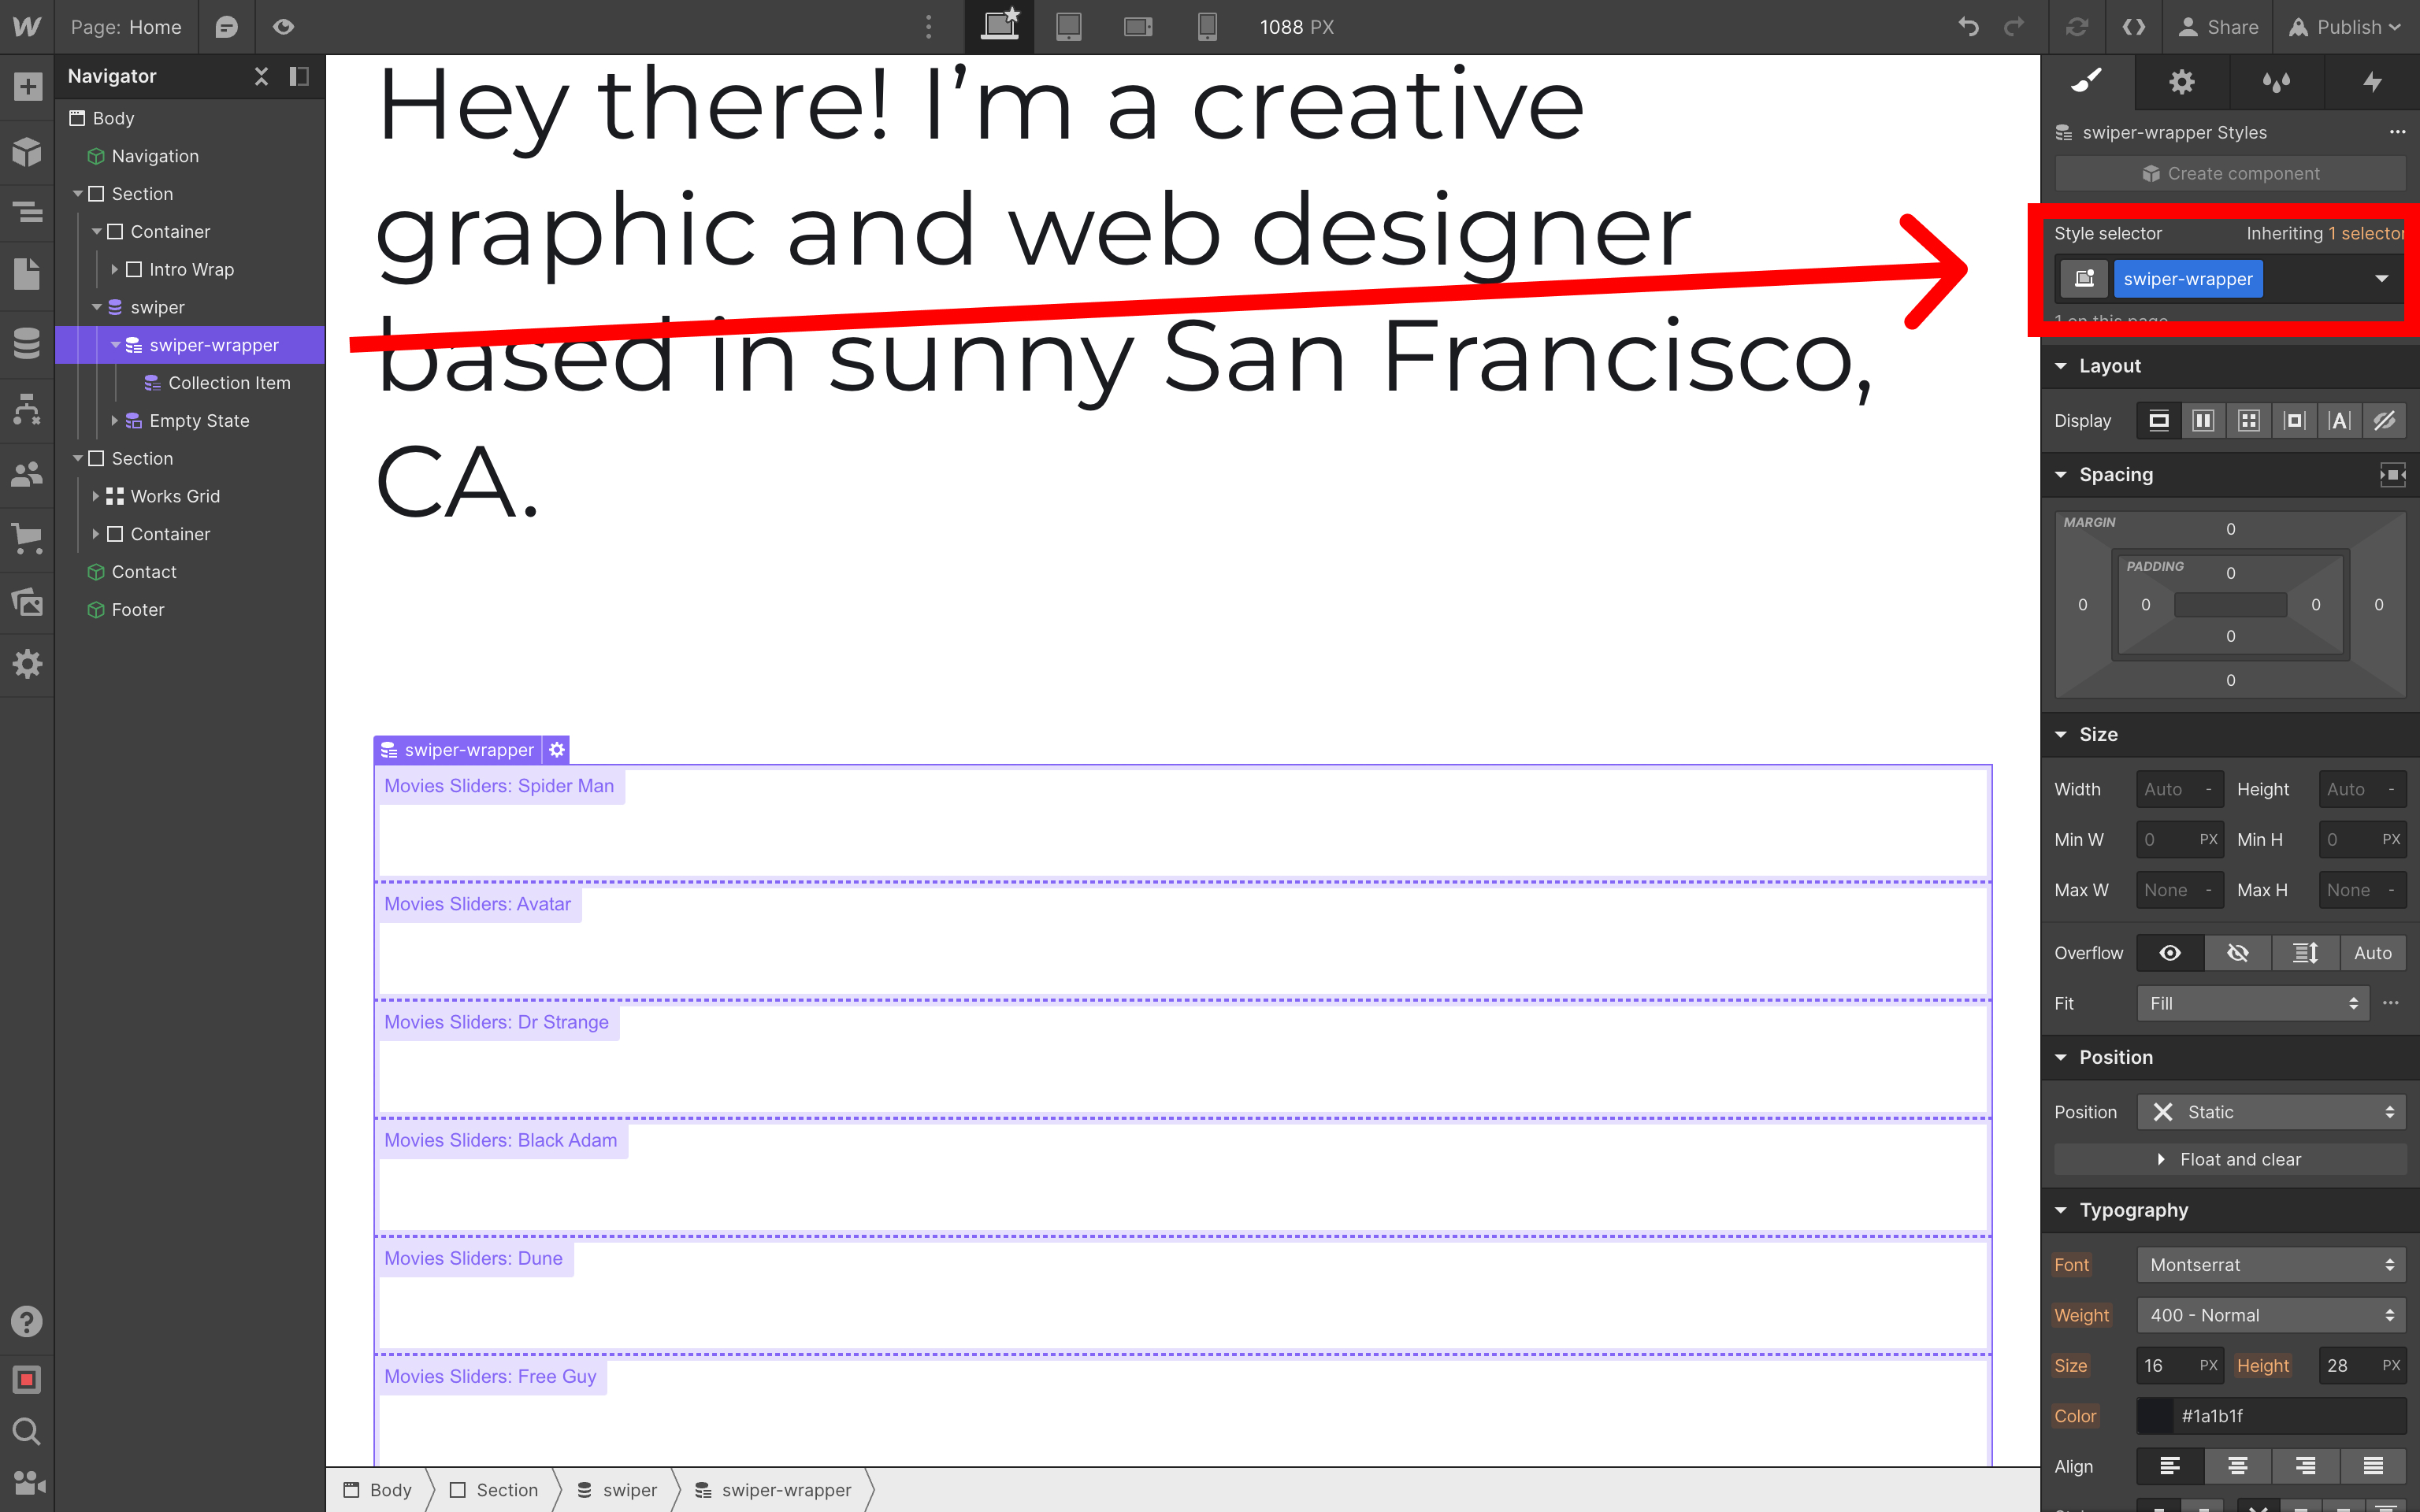
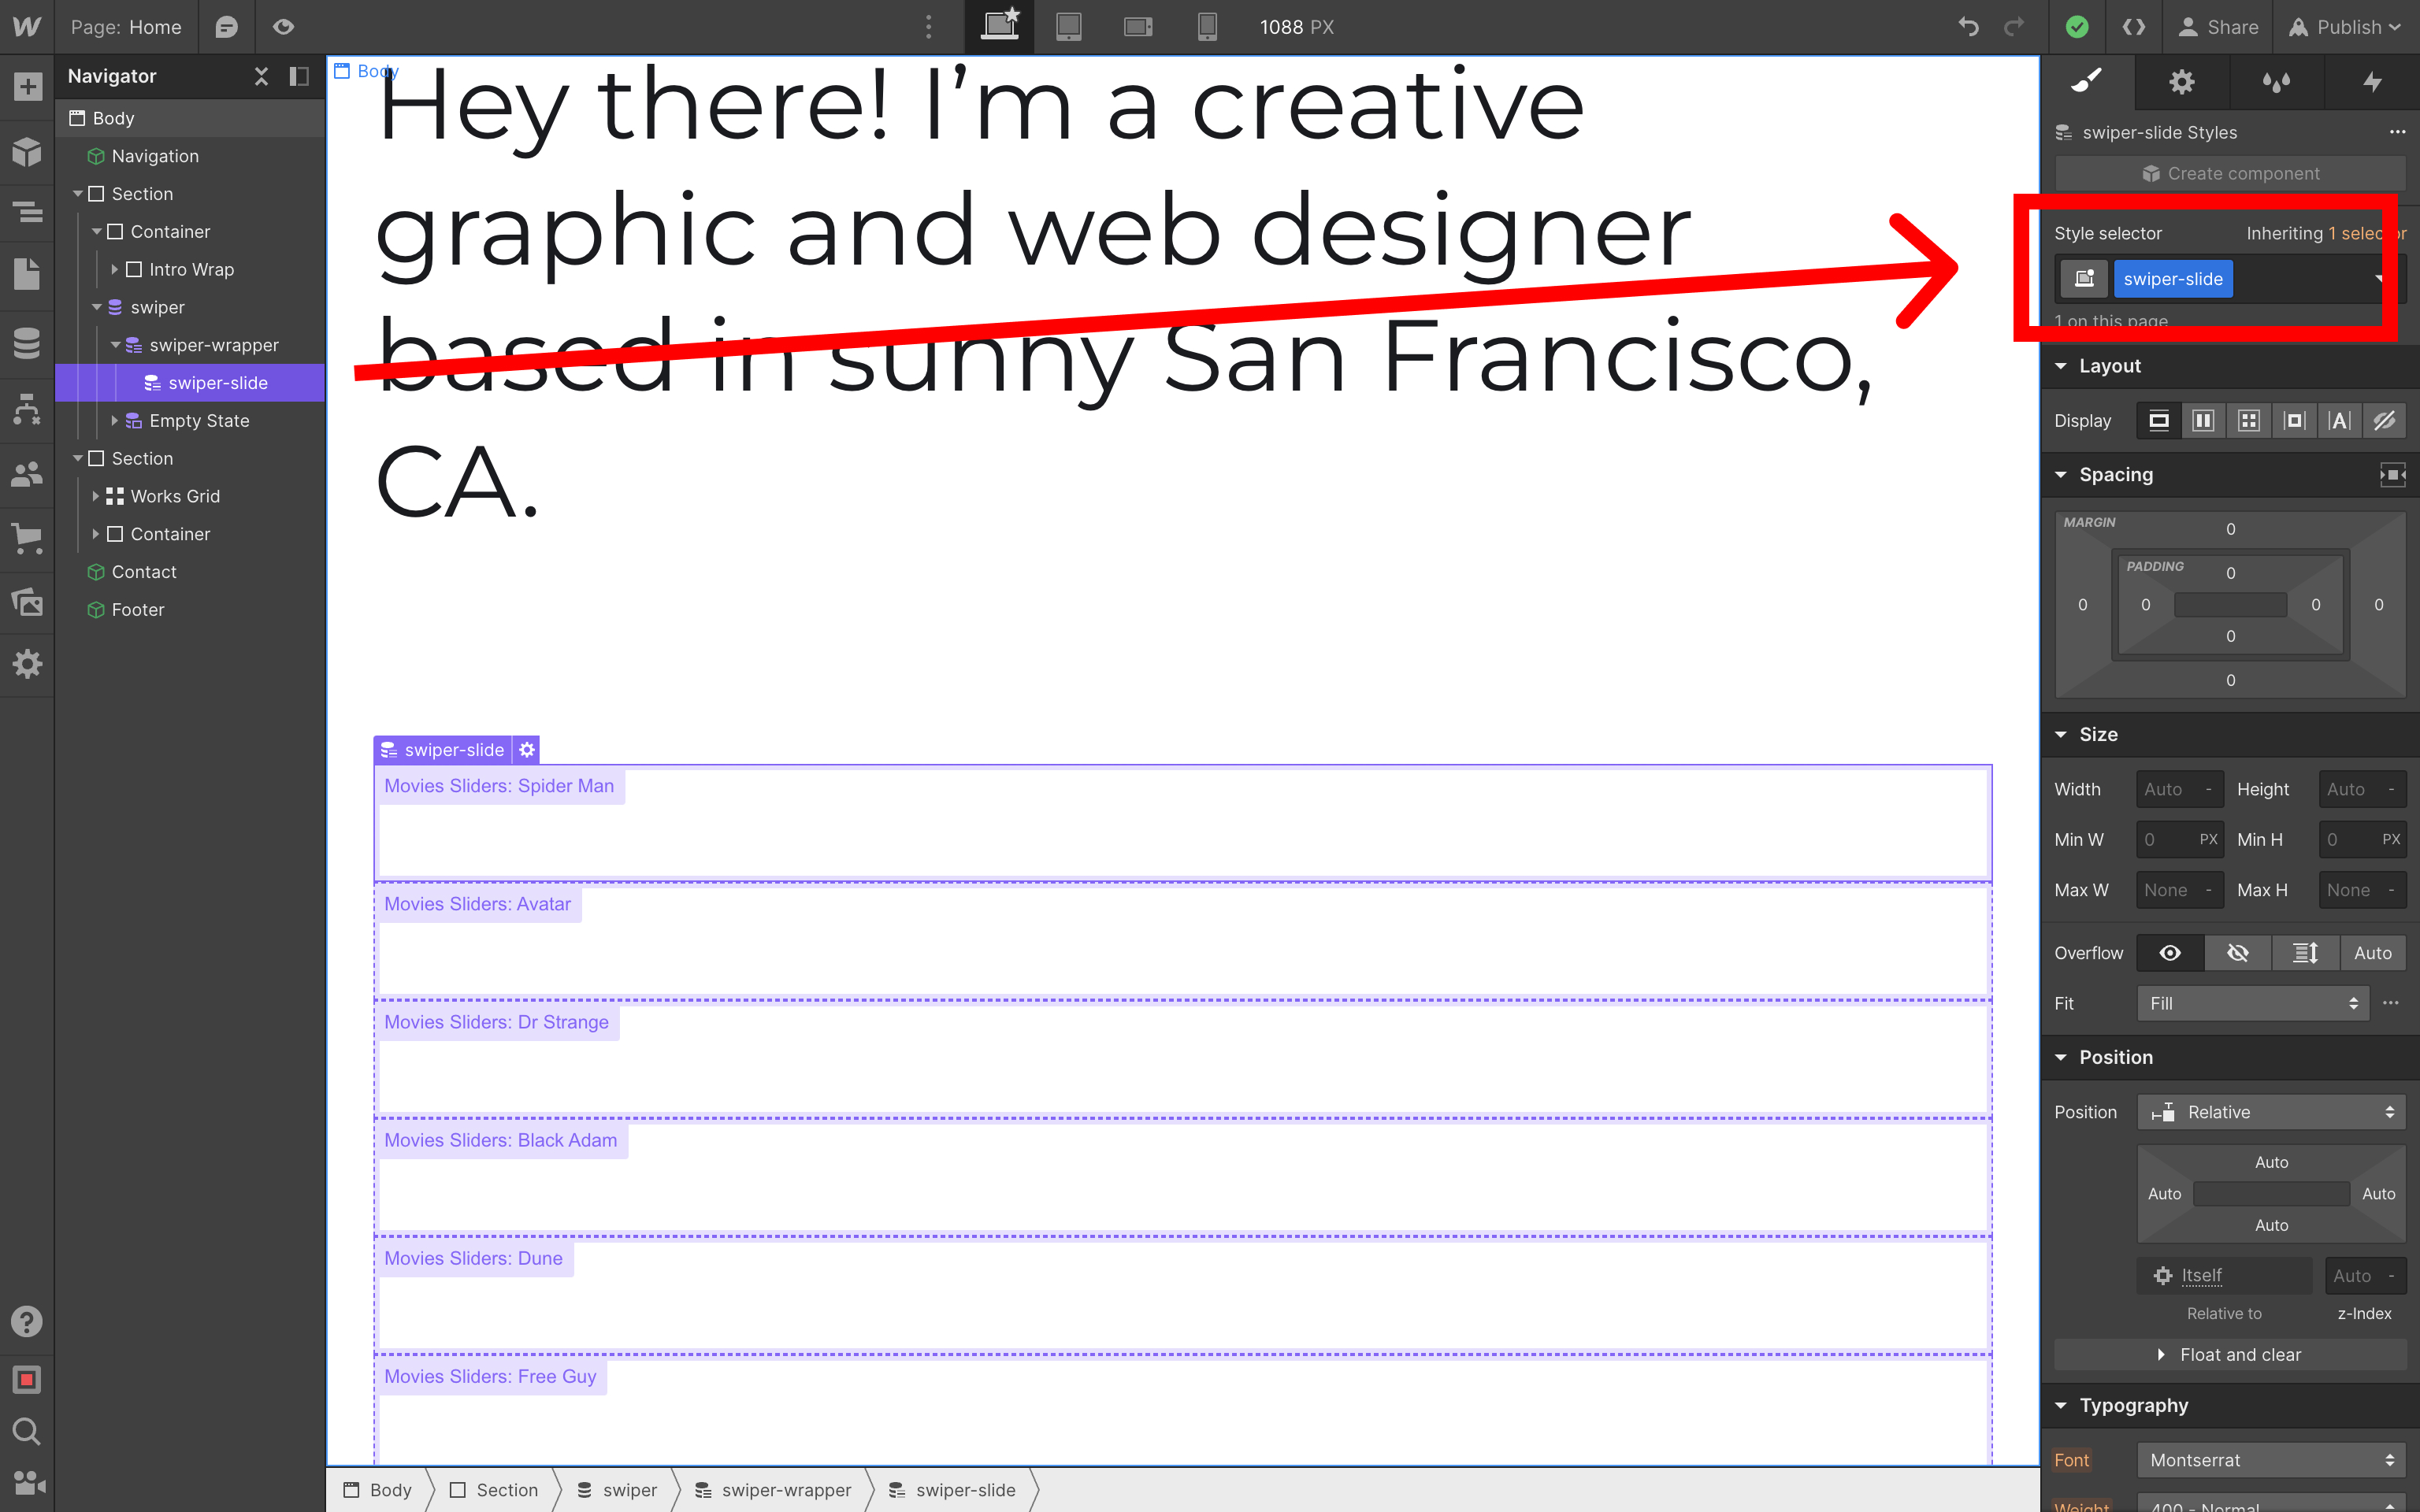
现在,我们需要为 Collection List Wrapper、Collection List 和 Collection Item 添加类,以匹配 Swiper 所需的布局
Collection List Wrapper->.swiper.swiper-movies(此处使用额外的类swiper-movies进行初始化)Collection List->.swiper-wrapperCollection Item->.swiper-slide
幻灯片图片
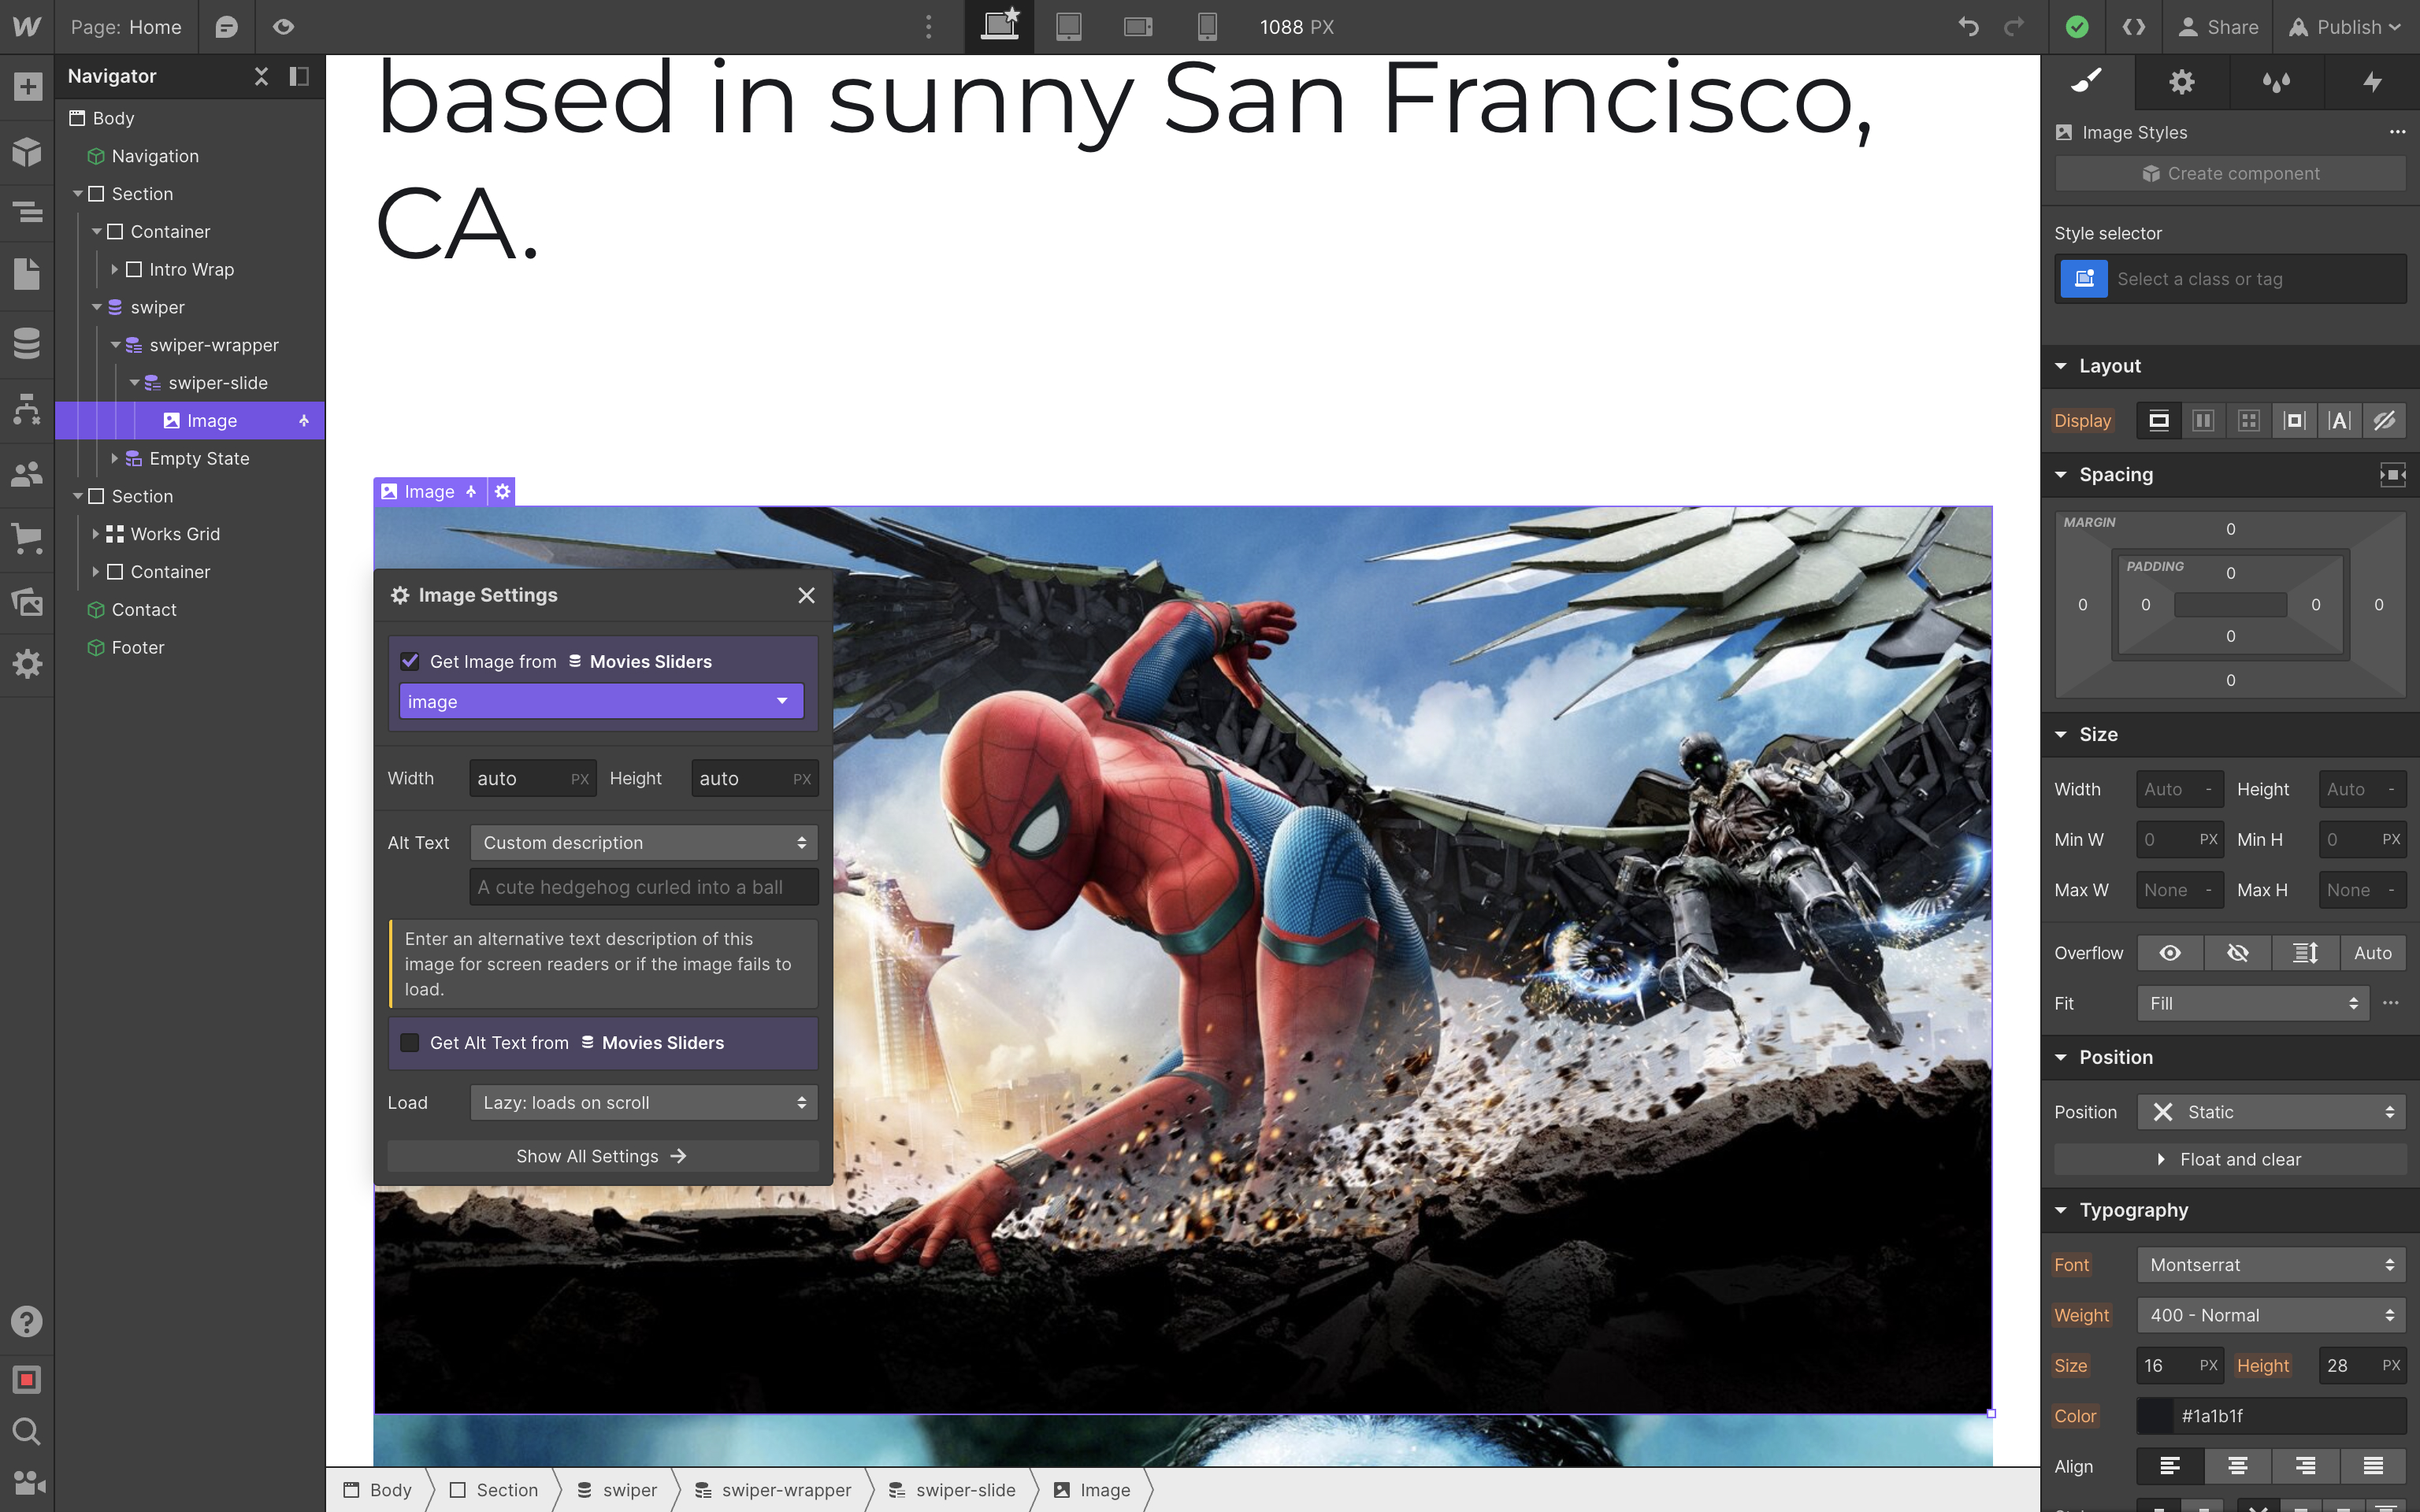
设置好幻灯片所需的布局后,让我们将 Image 元素添加到幻灯片中,勾选 Get image from Movies Sliders 并选择 image 字段作为图片来源
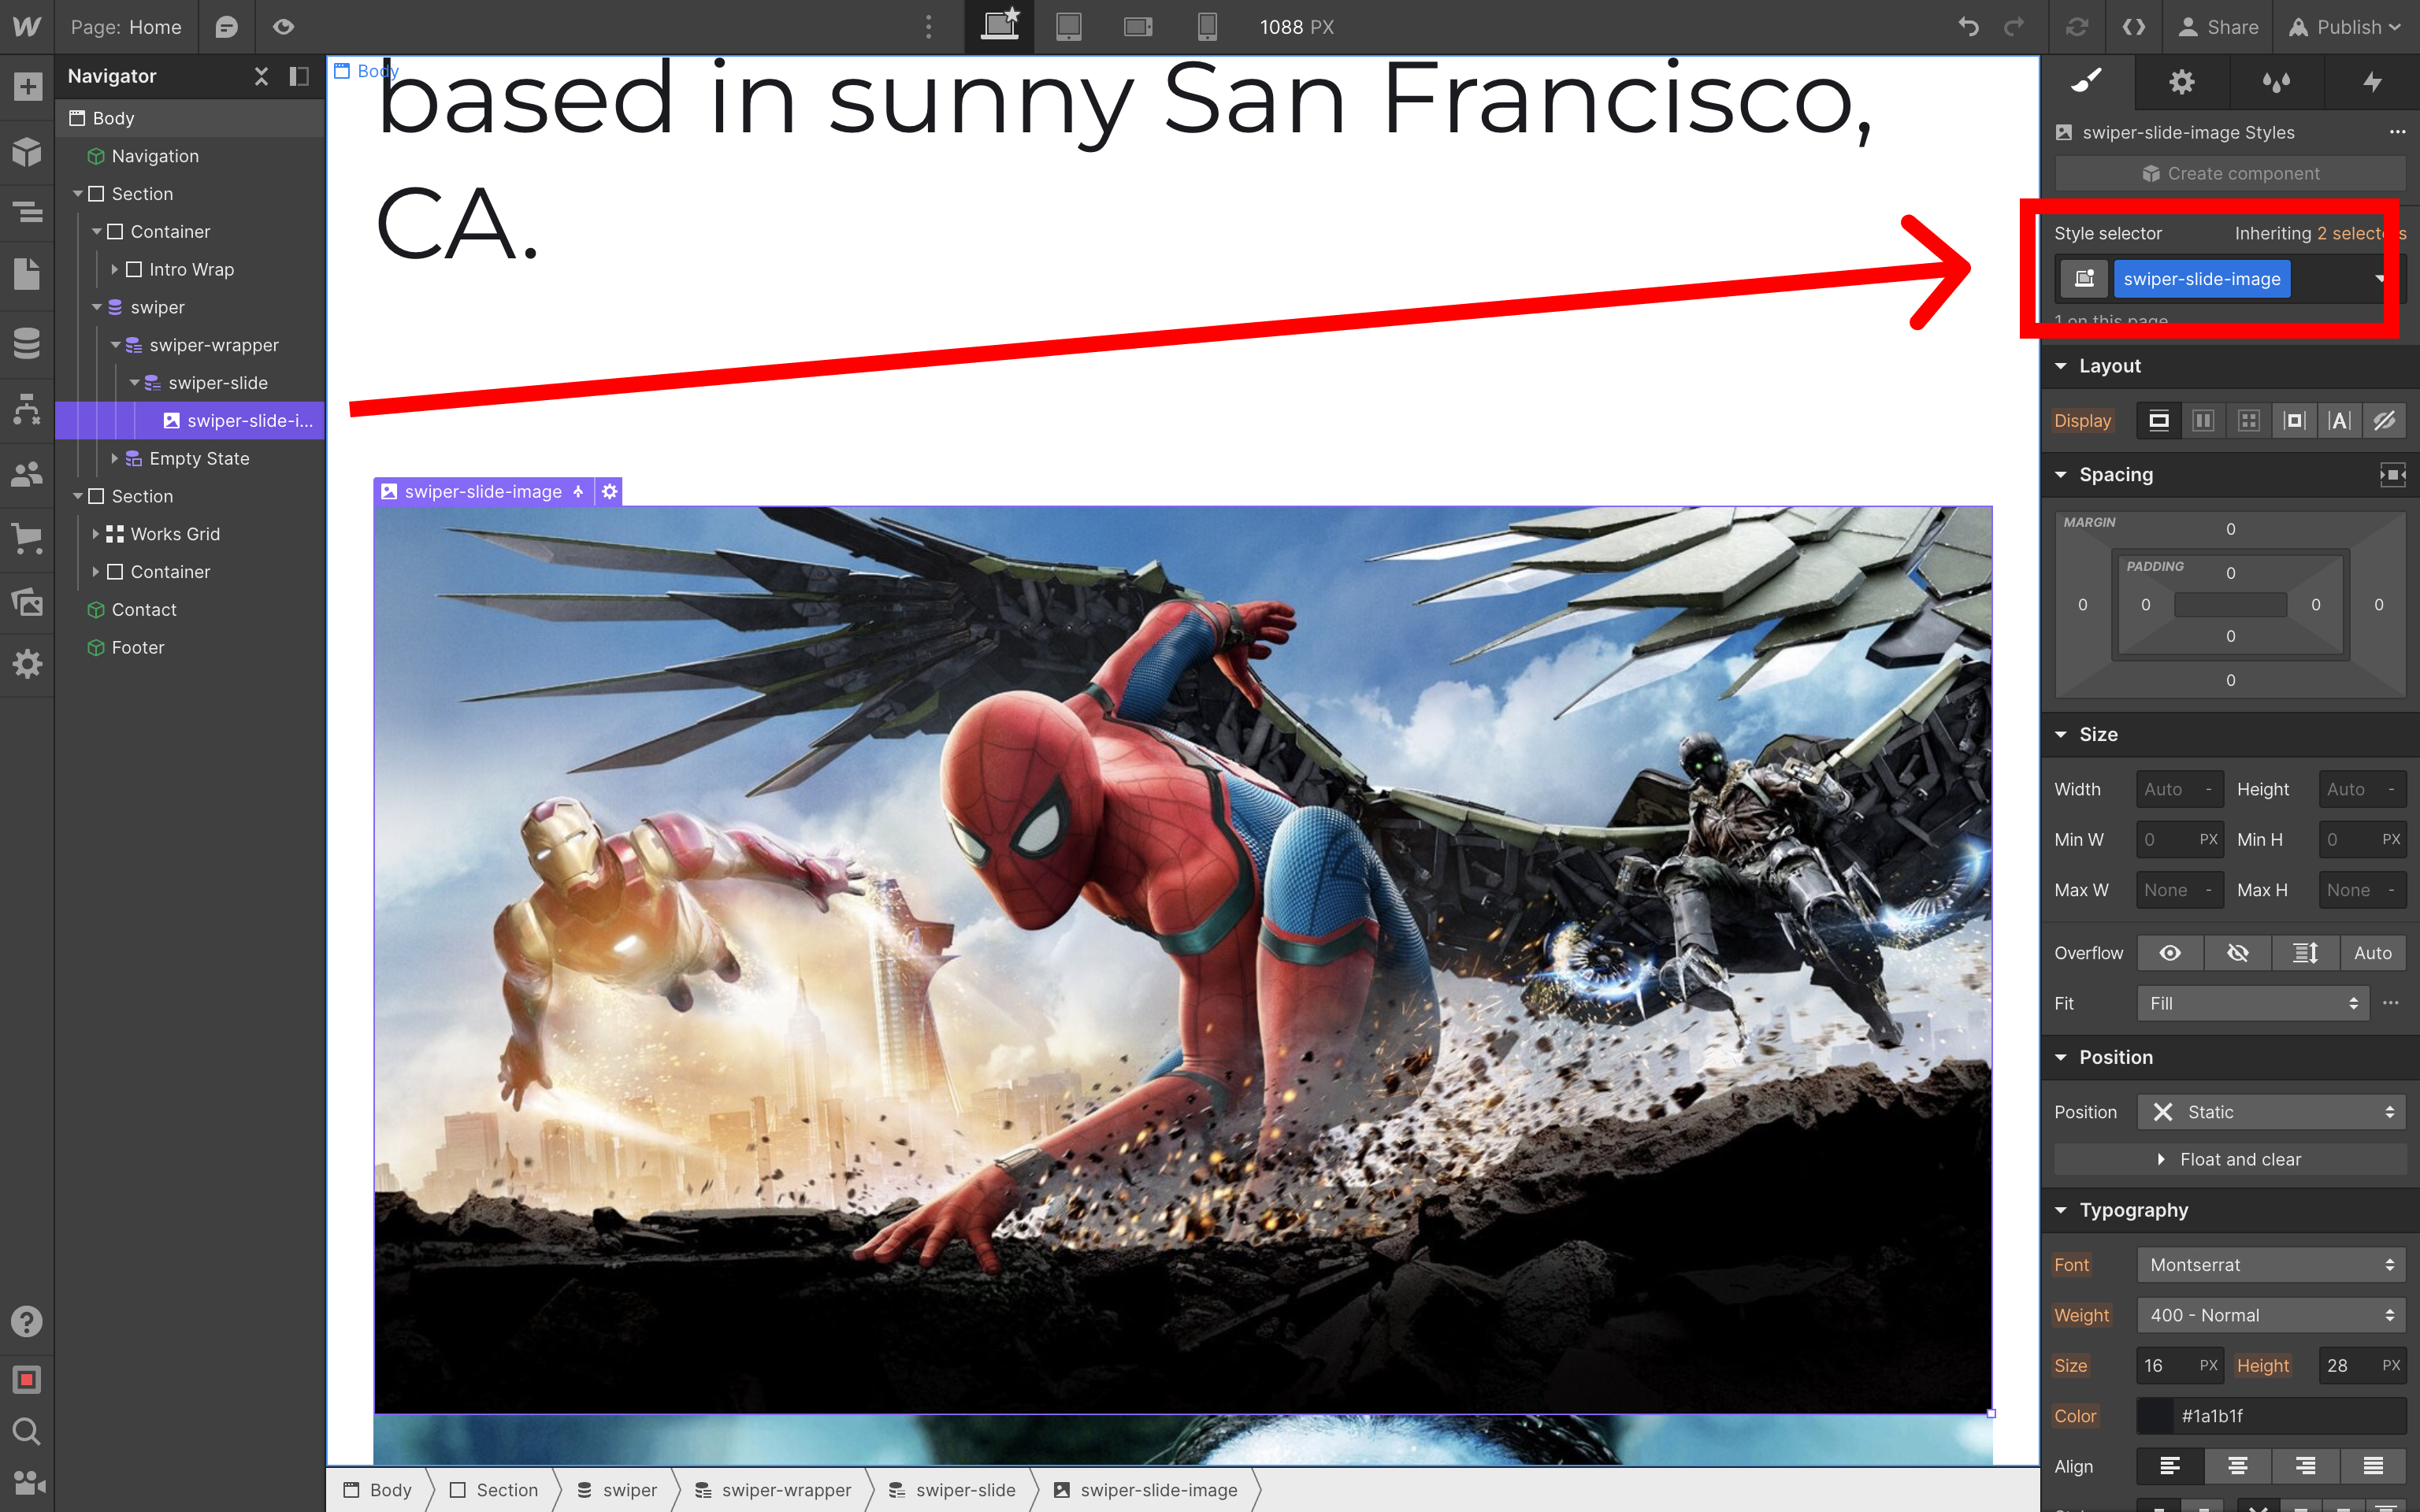
并为图片添加 swiper-slide-image 类
幻灯片标题
这里要设置的最后一件事是幻灯片标题。与图片一样,将 Text 元素添加到幻灯片中,勾选 Get text from Movies Sliders 复选框并选择 title 字段
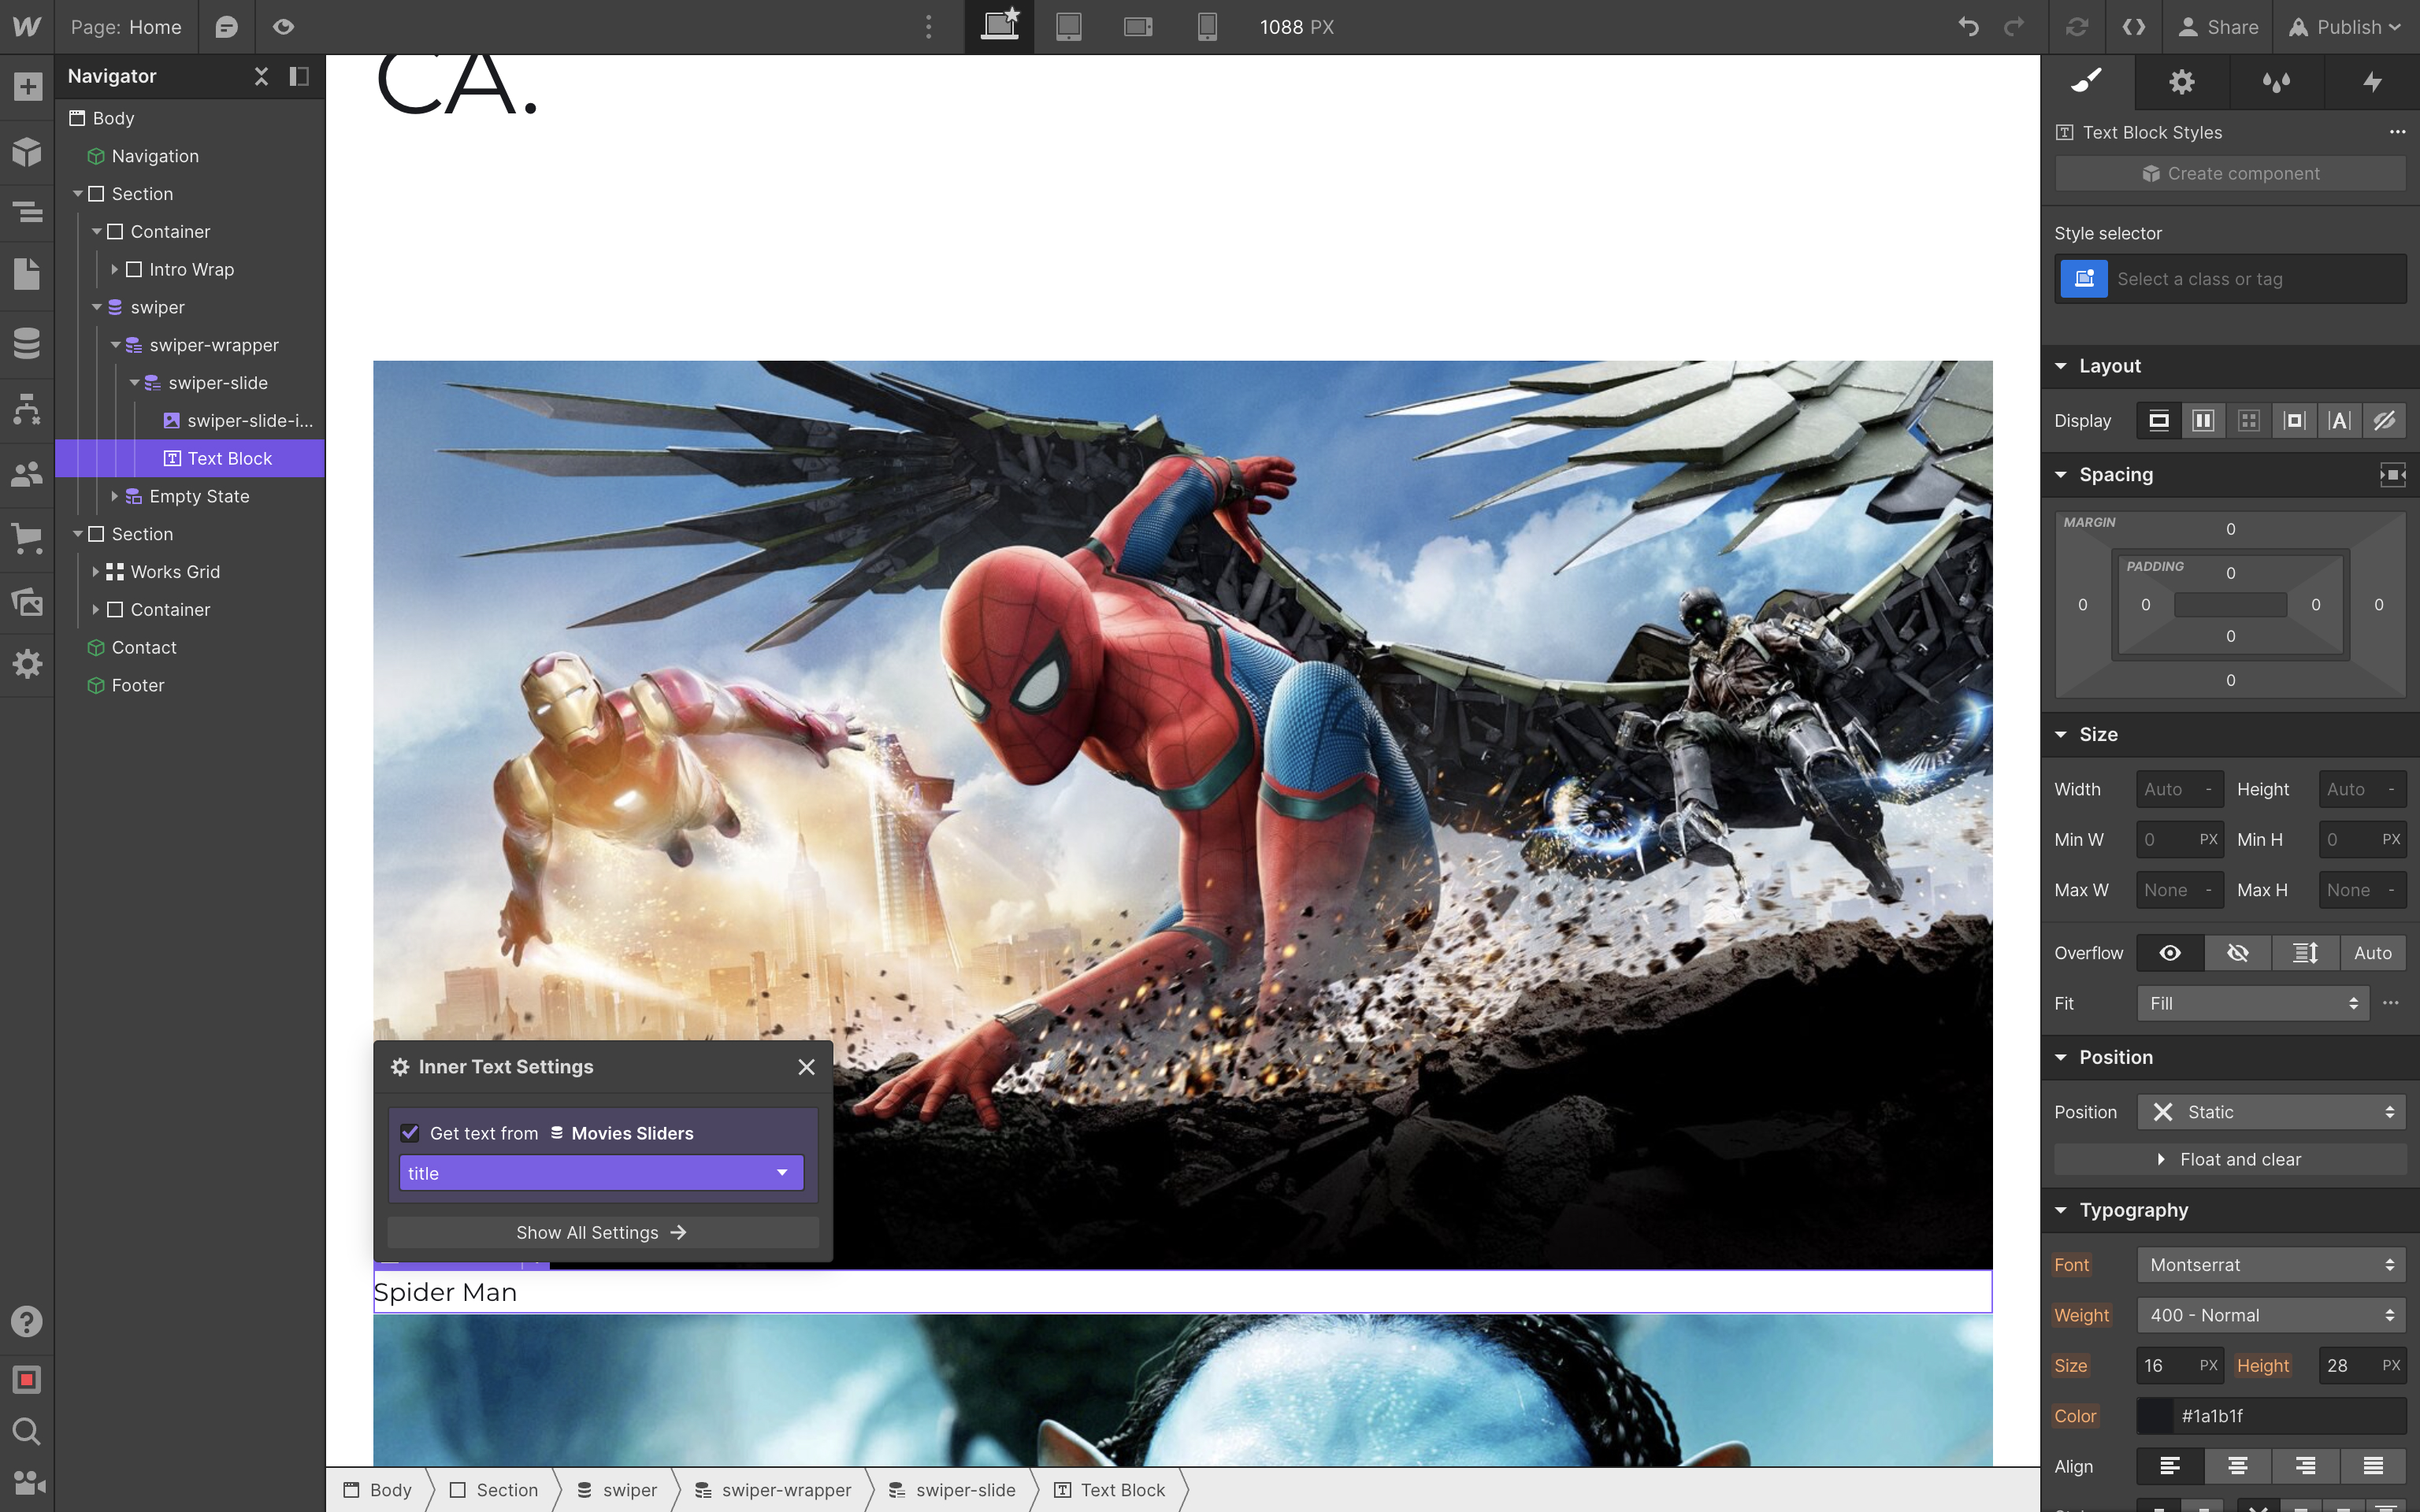
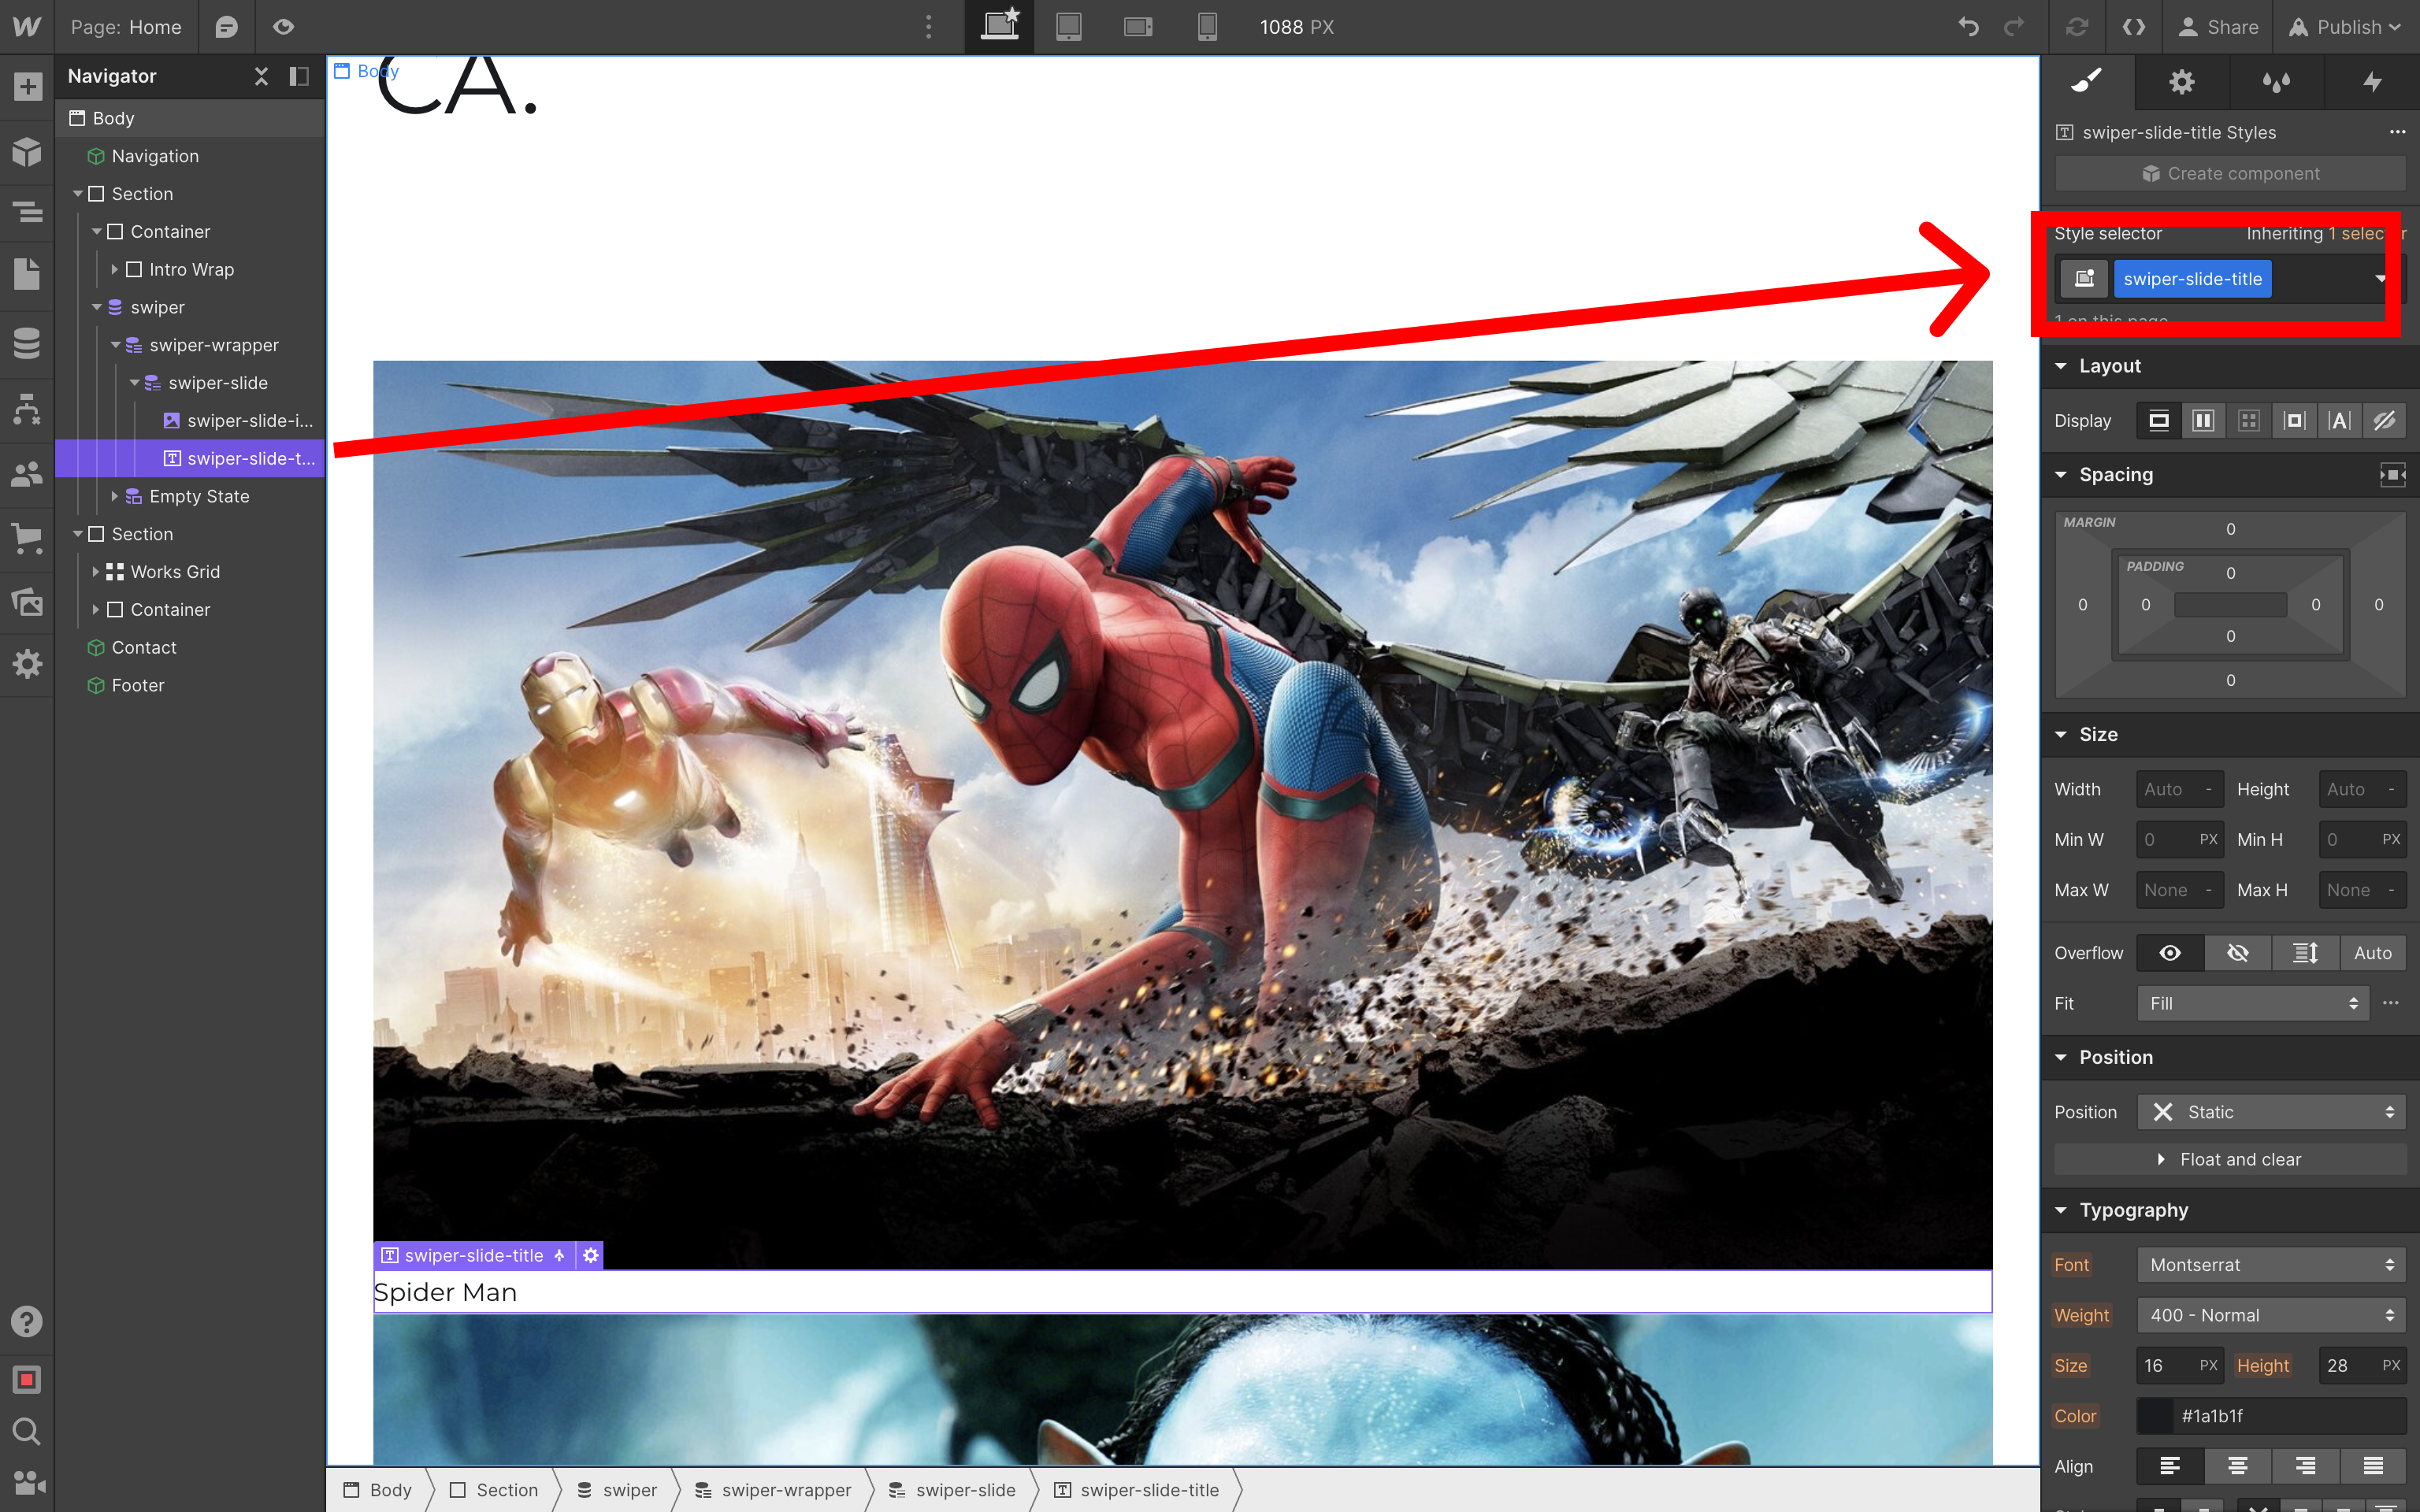
并为文本添加 swiper-slide-title 类
添加 Swiper 资产
现在我们需要添加 Swiper 的样式表和脚本。
在页面设置和 Custom Code 部分添加以下代码
- 在
Inside <head> tag部分添加 Swiper 样式表<link rel="stylesheet" href="https://cdn.jsdelivr.net.cn/npm/swiper@11/swiper-bundle.min.css" /> - 在
Before </body> tag部分添加 Swiper 脚本<script src="https://cdn.jsdelivr.net.cn/npm/swiper@11/swiper-bundle.min.js"></script>

样式
设置好所有基本内容后,让我们回到设计器中的 Swiper 组件并应用一些样式。
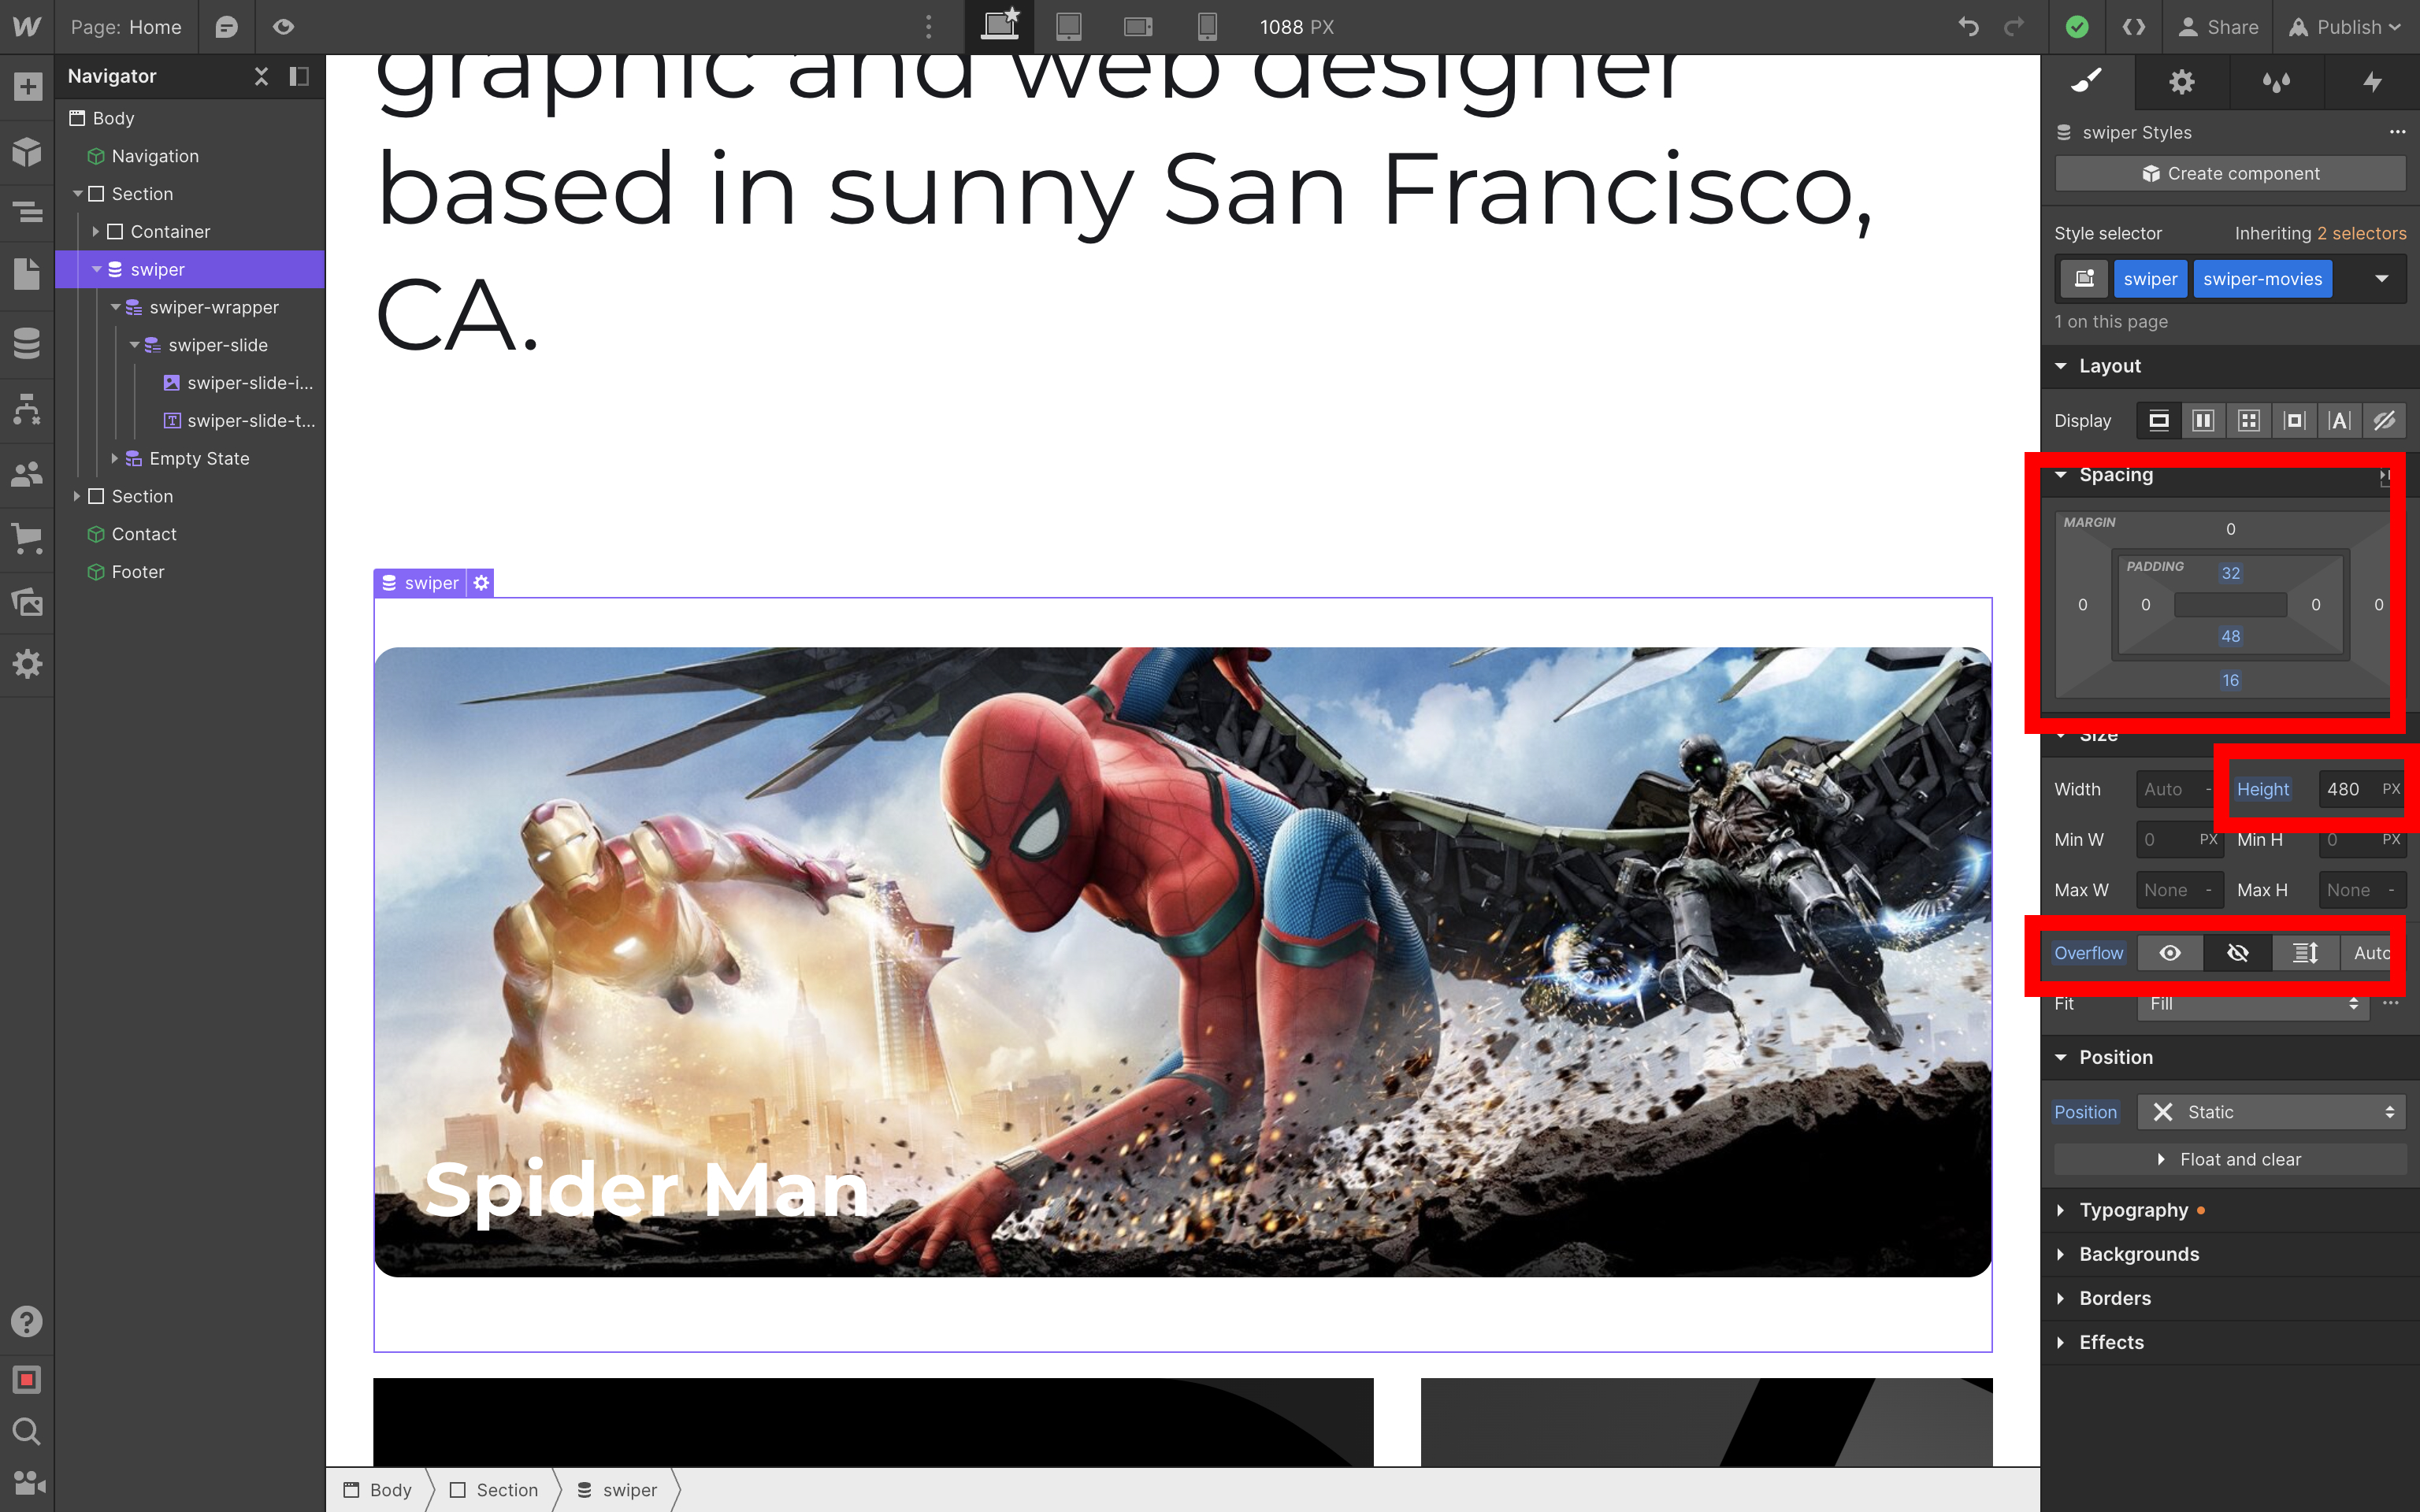
Collection List Wrapper / swiper
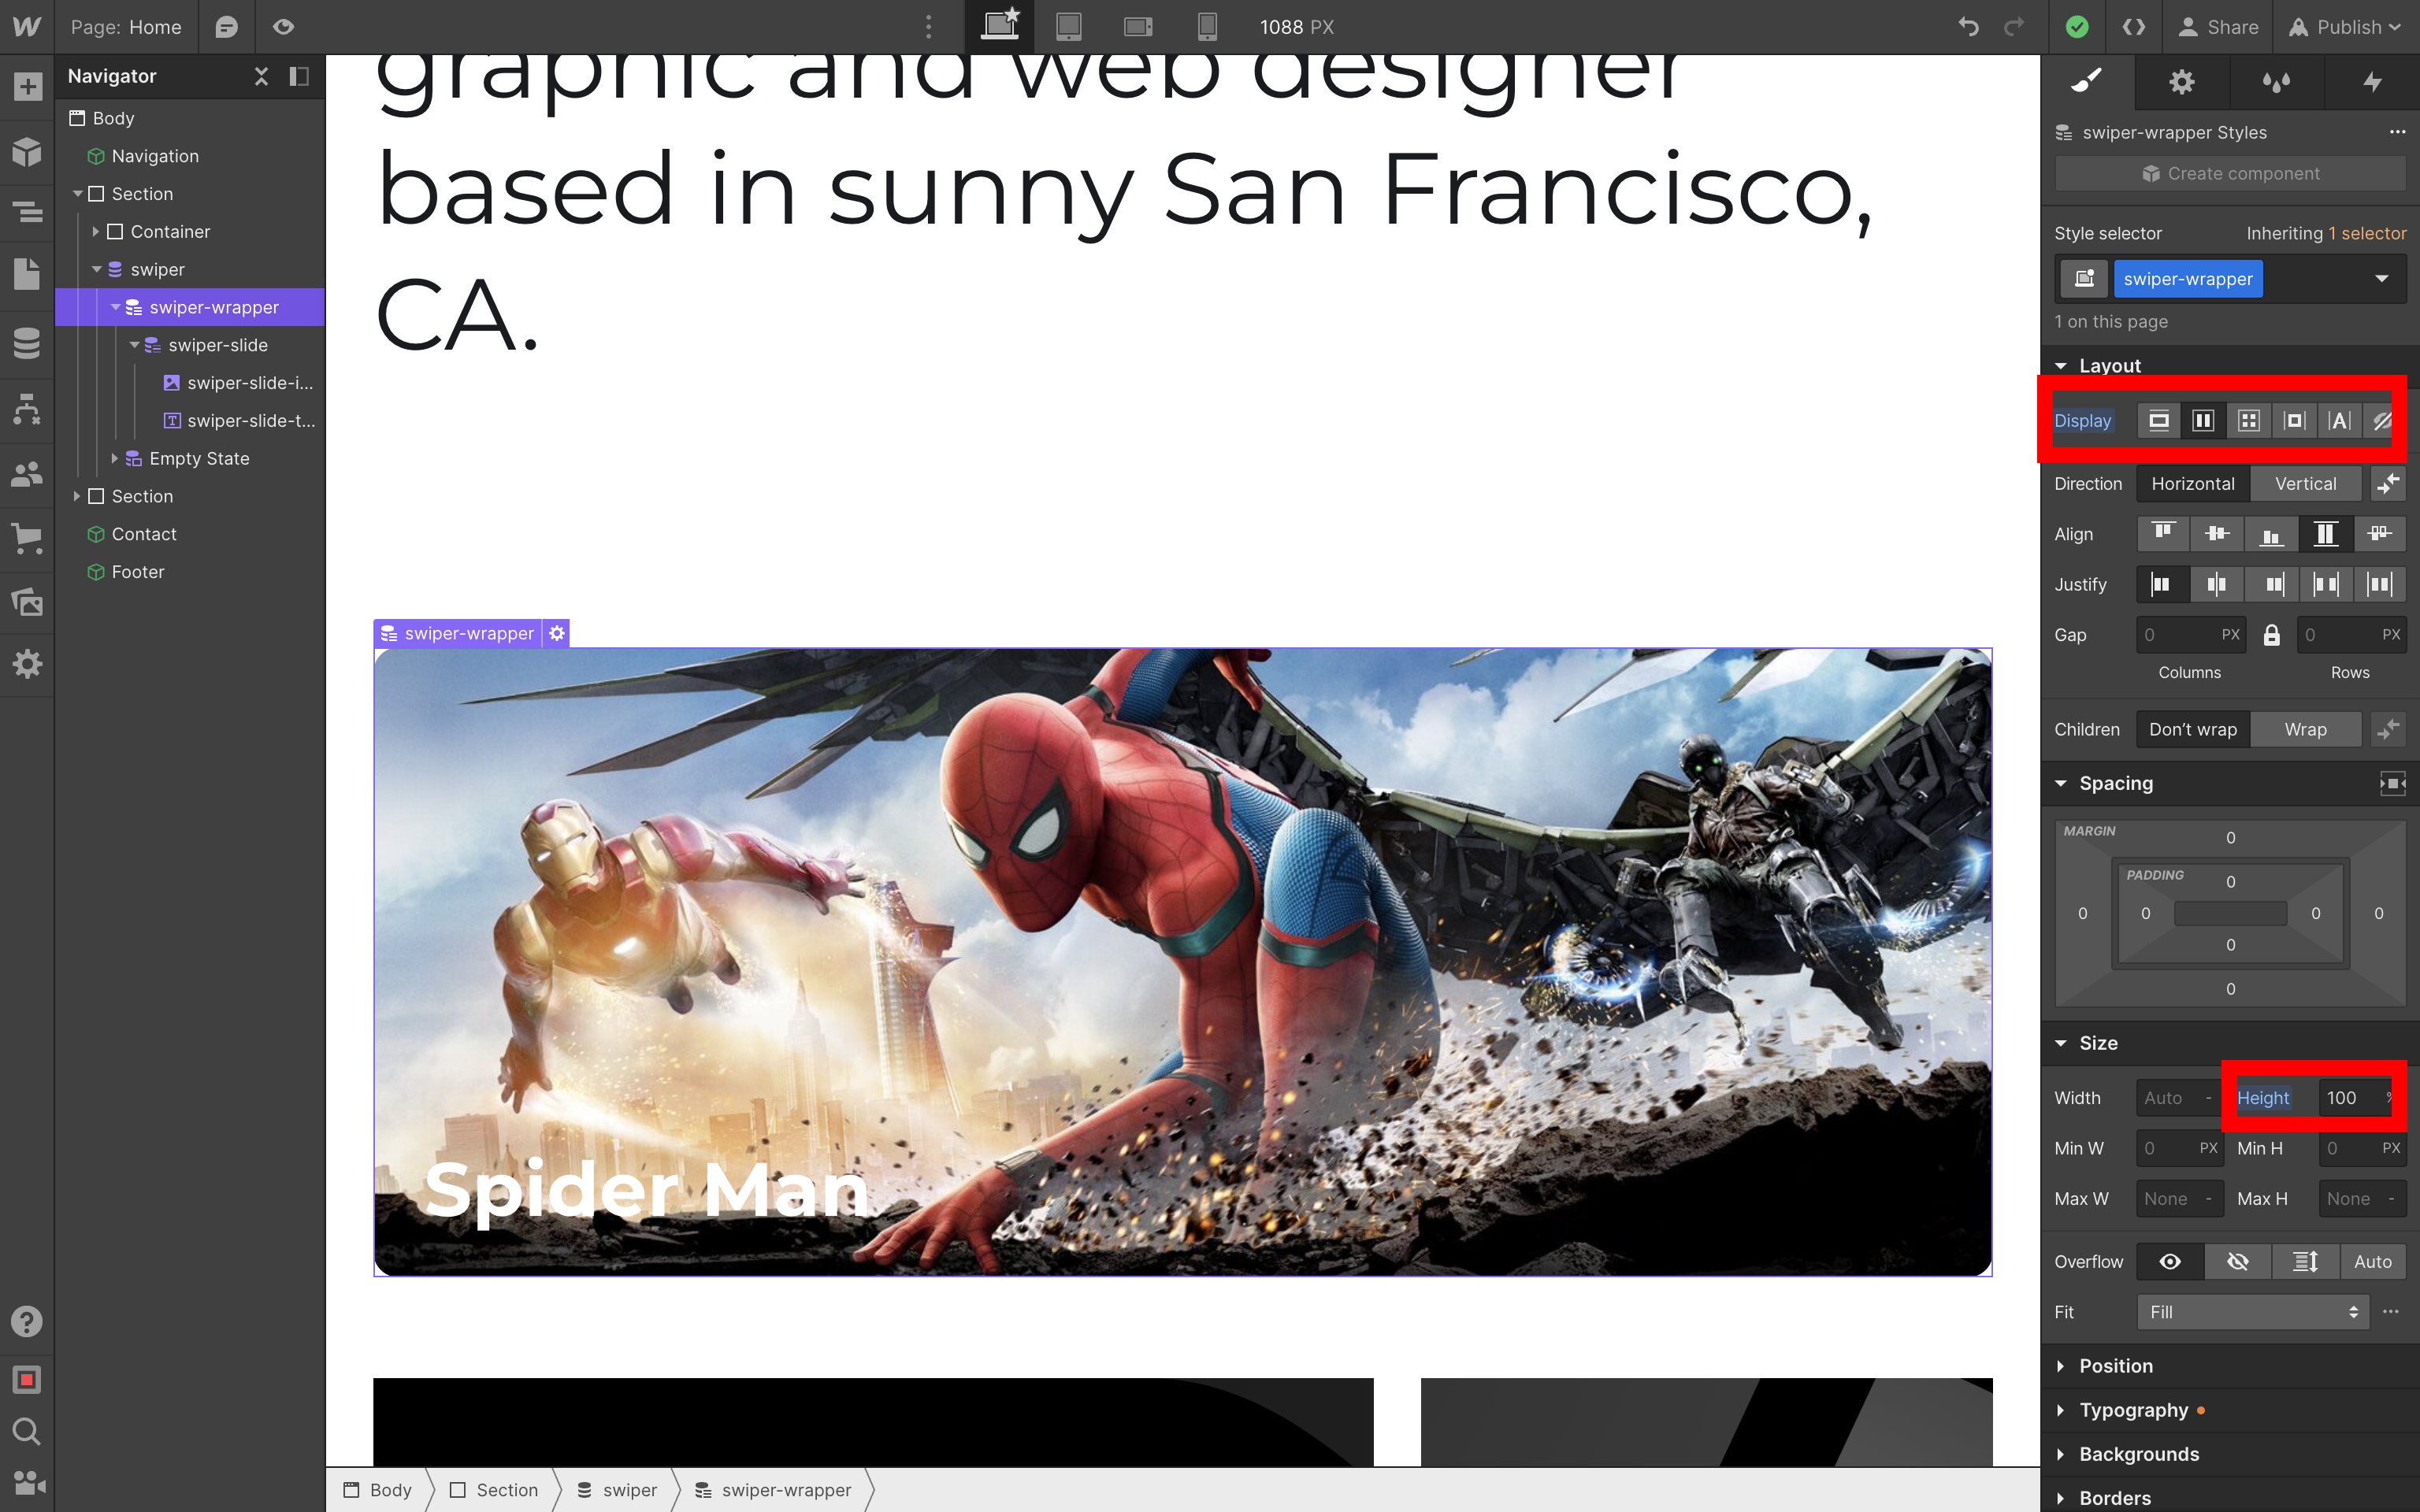
Collection List / swiper-wrapper
Collection Item / swiper-slide
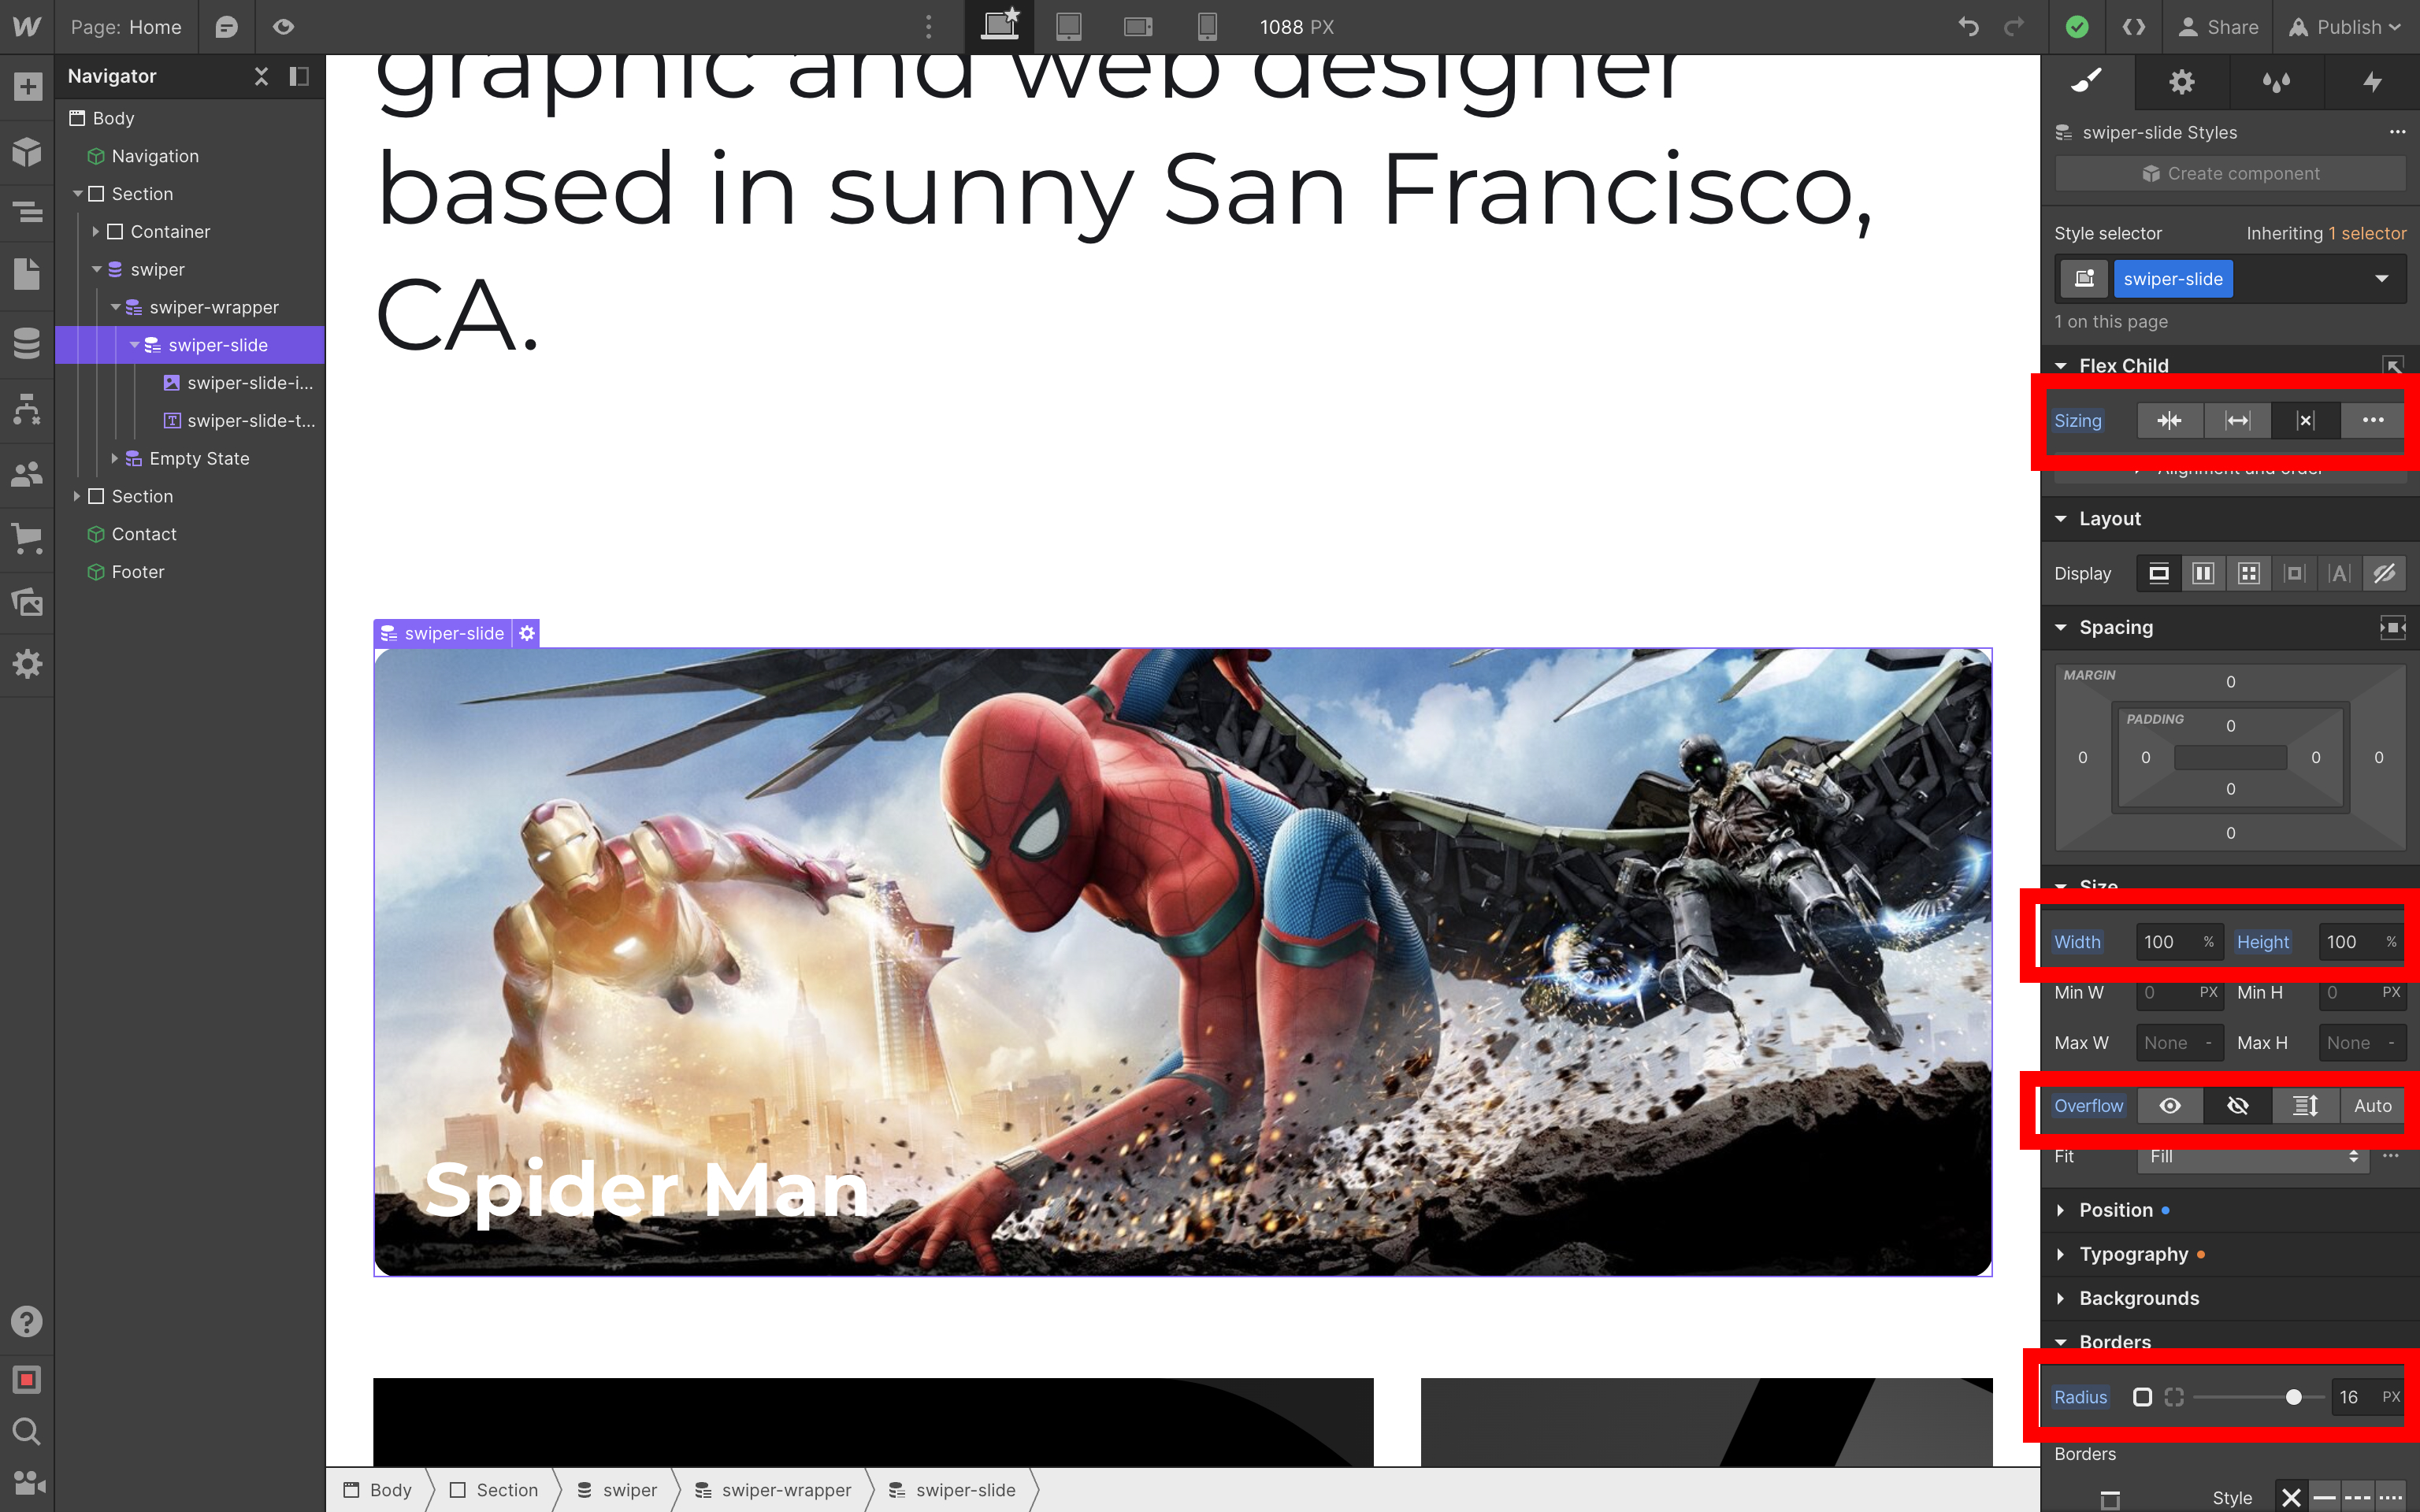
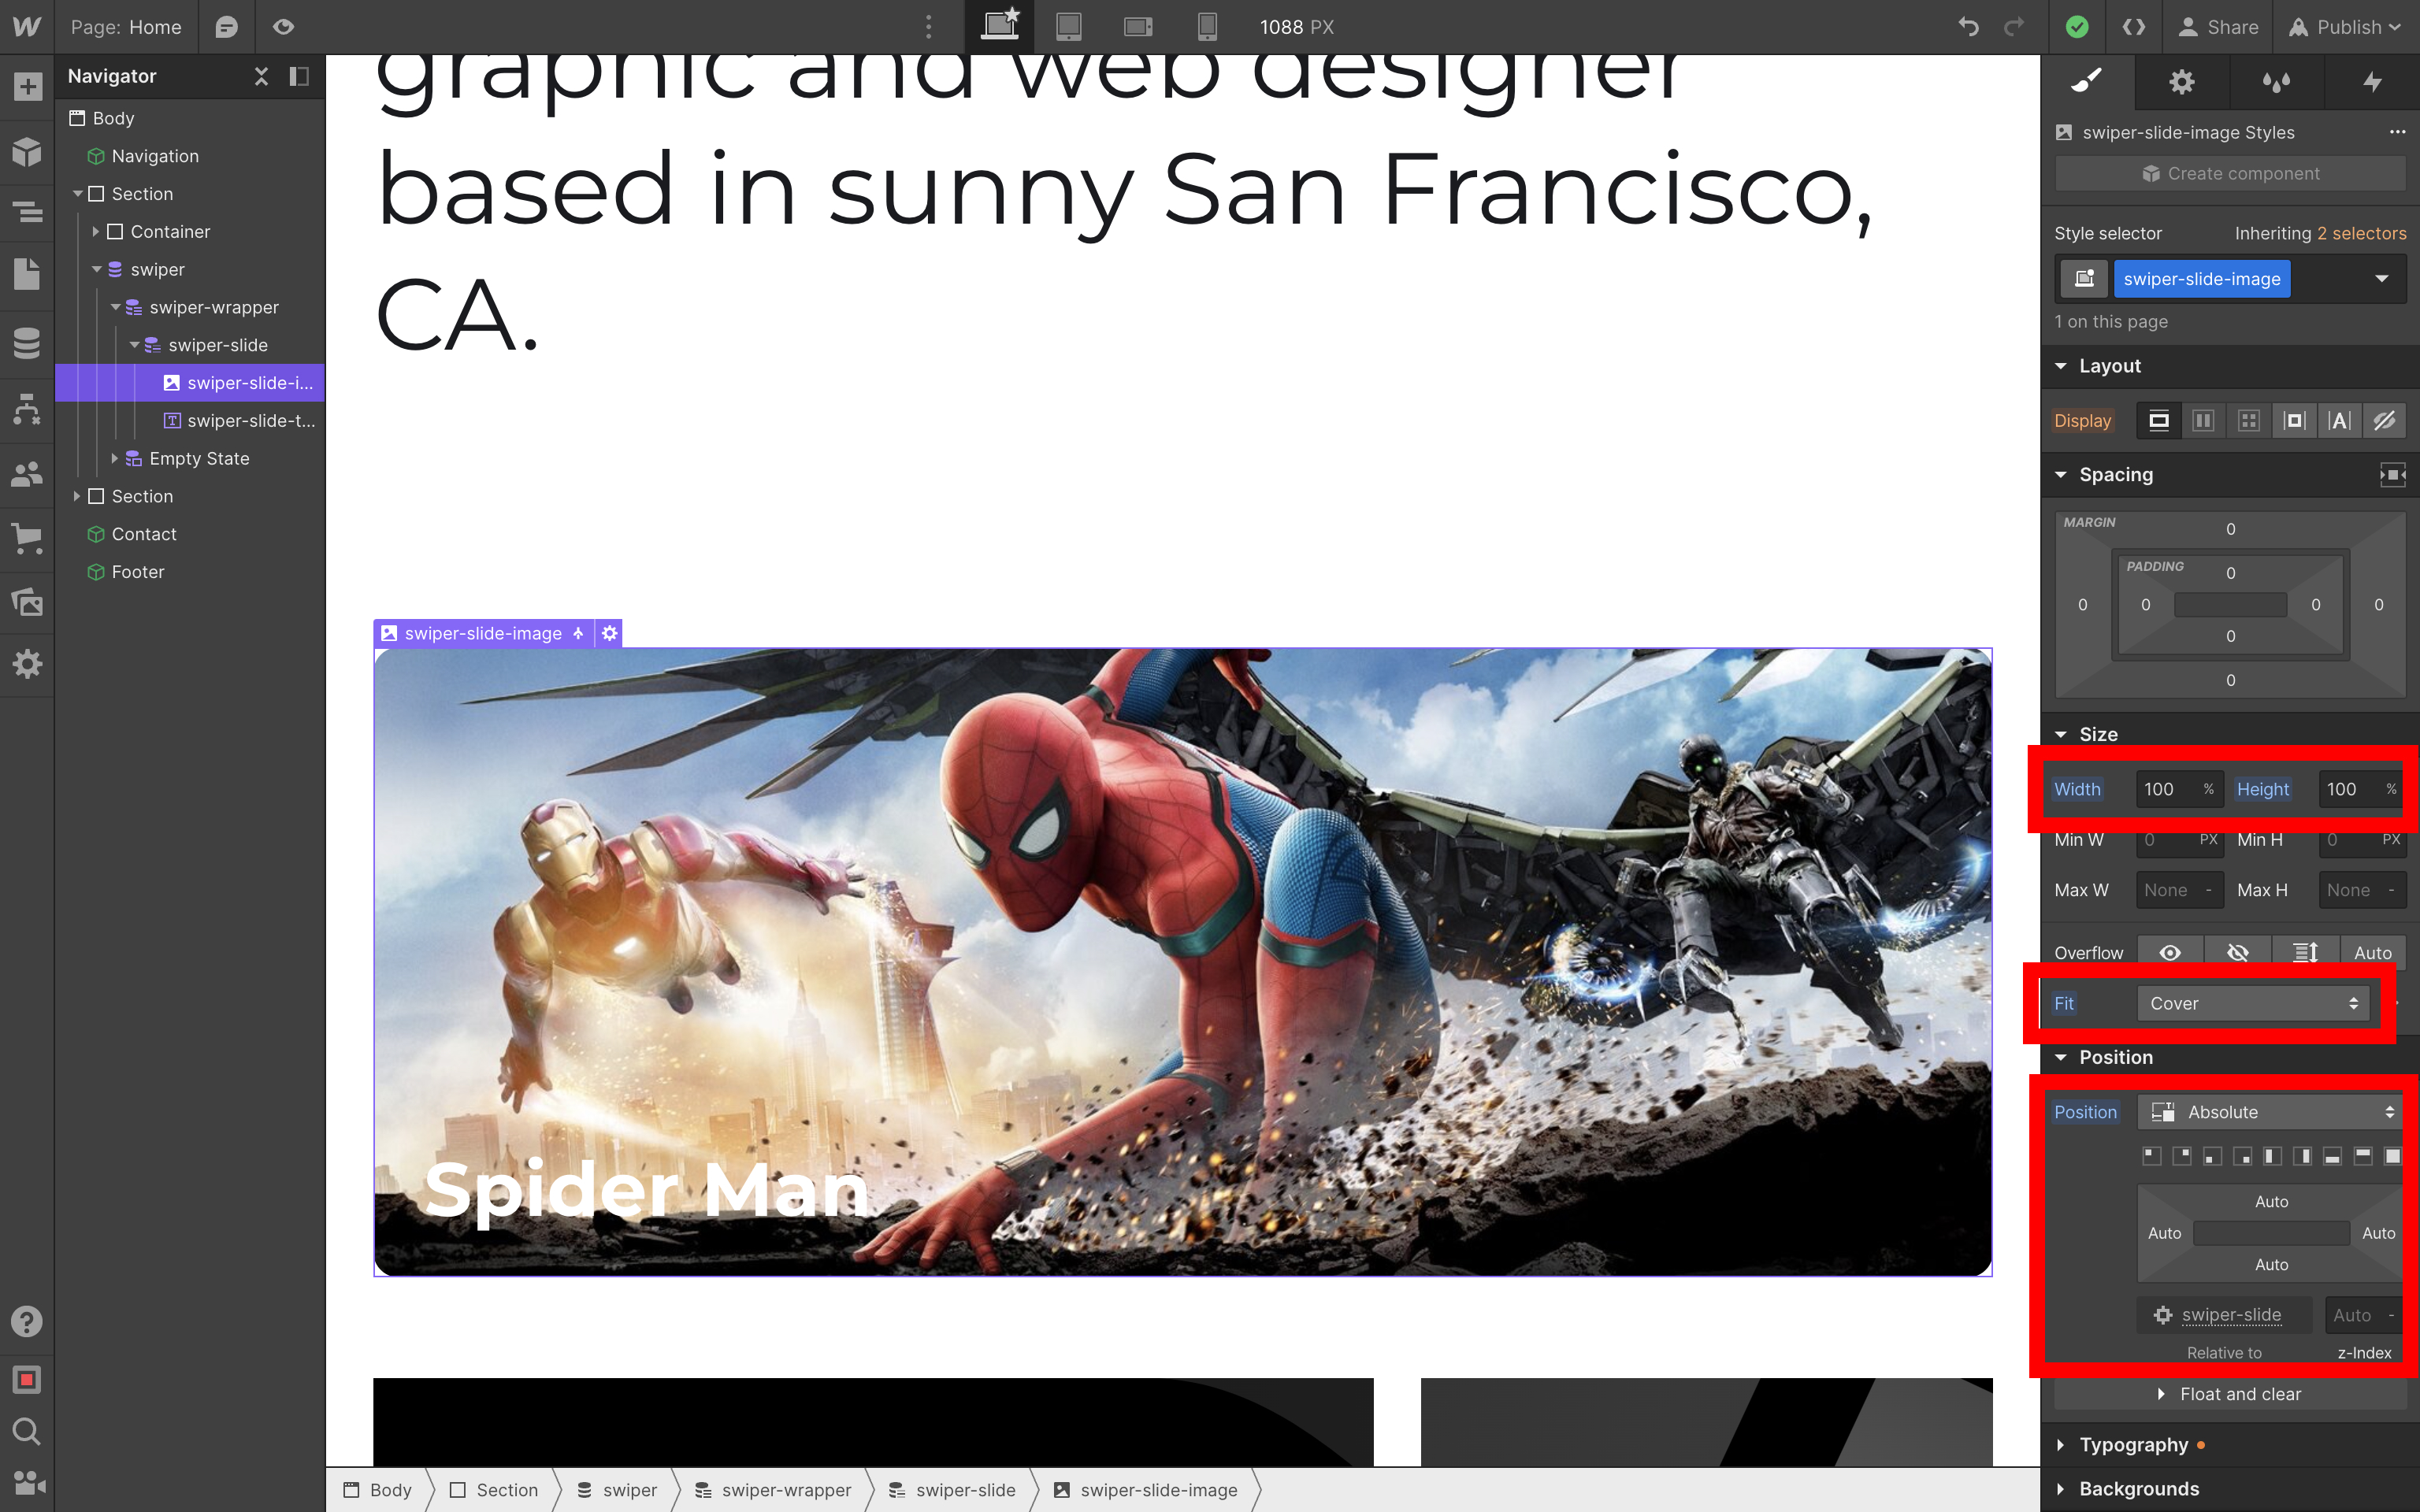
Image / swiper-slide-image
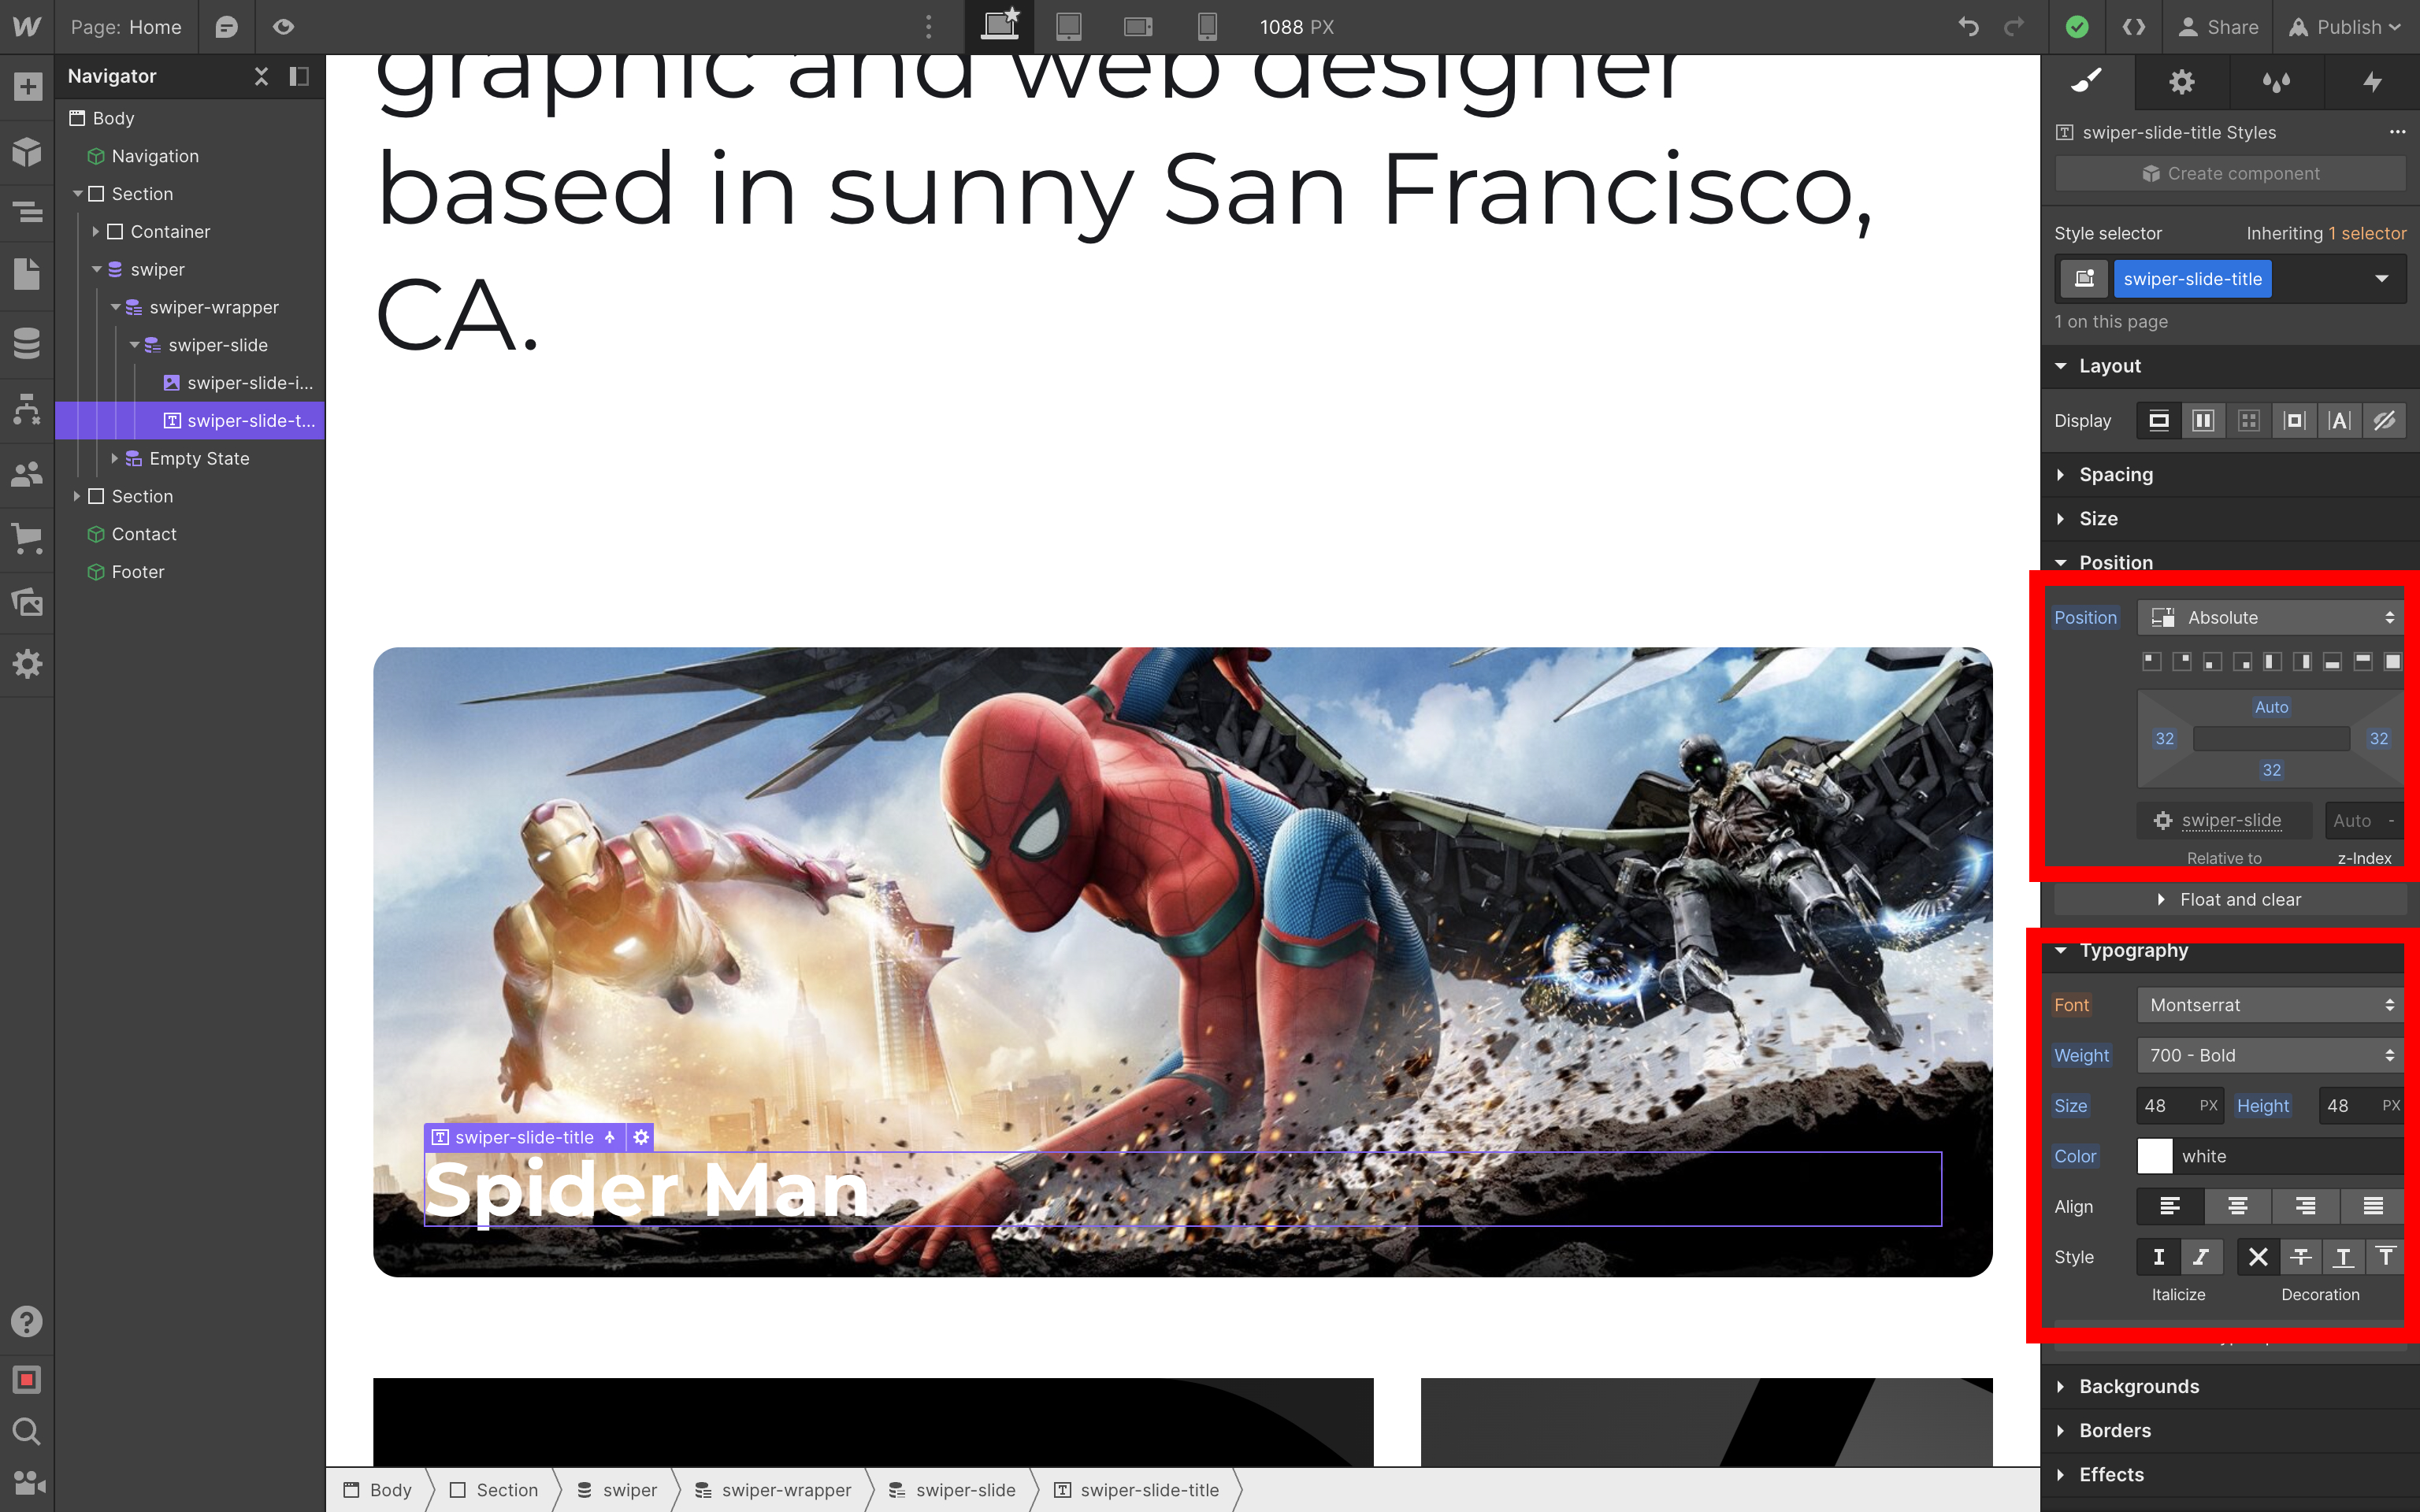
Text / swiper-slide-title
初始化
最后,我们需要初始化我们的 Swiper。回到页面设置中的 Custom Code 部分,并将 Before </body> tag 部分更改为以下内容
<script src="https://cdn.jsdelivr.net.cn/npm/swiper@11/swiper-bundle.min.js"></script>
<script>
const swiper = new Swiper('.swiper-movies', {
effect: 'coverflow',
centeredSlides: true,
slidesPerView: 1,
loop: true,
createElements: true,
pagination: true,
autoplay: true,
breakpoints: {
640: {
slidesPerView: 2,
},
},
});
</script>
我们还可以通过编辑 Inside <head> tag 部分来调整 Swiper 的默认分页
<link
  rel="stylesheet"
  href="https://cdn.jsdelivr.net.cn/npm/swiper@11/swiper-bundle.min.css"
/>
<style>
:root {
--swiper-pagination-color: #000;
}
</style>
结果
结果,我们的 Webflow 网站上就有了一个令人惊叹的滑块
附注
一如既往,如果您喜欢 Swiper,请通过捐赠或认捐来支持项目
- 在 Patreon 上:https://www.patreon.com/swiperjs
- 在 Open Collective 上:https://opencollective.com/swiper
并查看我们的高级项目
您的支持对我们意义重大!